
Email Settings basically enables you to configure where the email needs to be delivered once a user submits the form. You can configure unlimited email notifications. For
First, you need to turn on the Email settings to start sending Email notifications with Everest Forms.
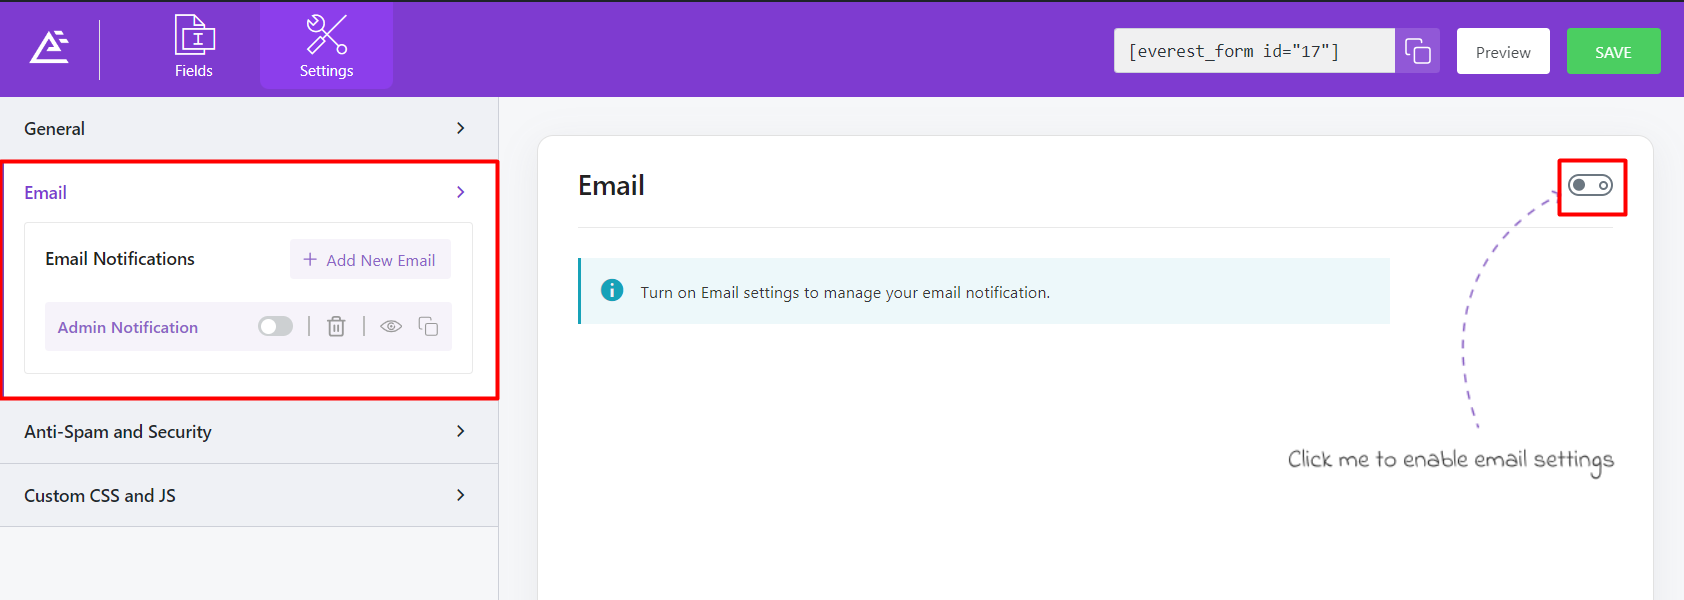
Emails Settings allows you to configure “To” and “From” email addresses for the emails. You can also customize the subject and add additional messages attached to the forms if you wish. You can access the Email Settings Page from your individual Form settings tab.
Setting up Admin Email Notification #
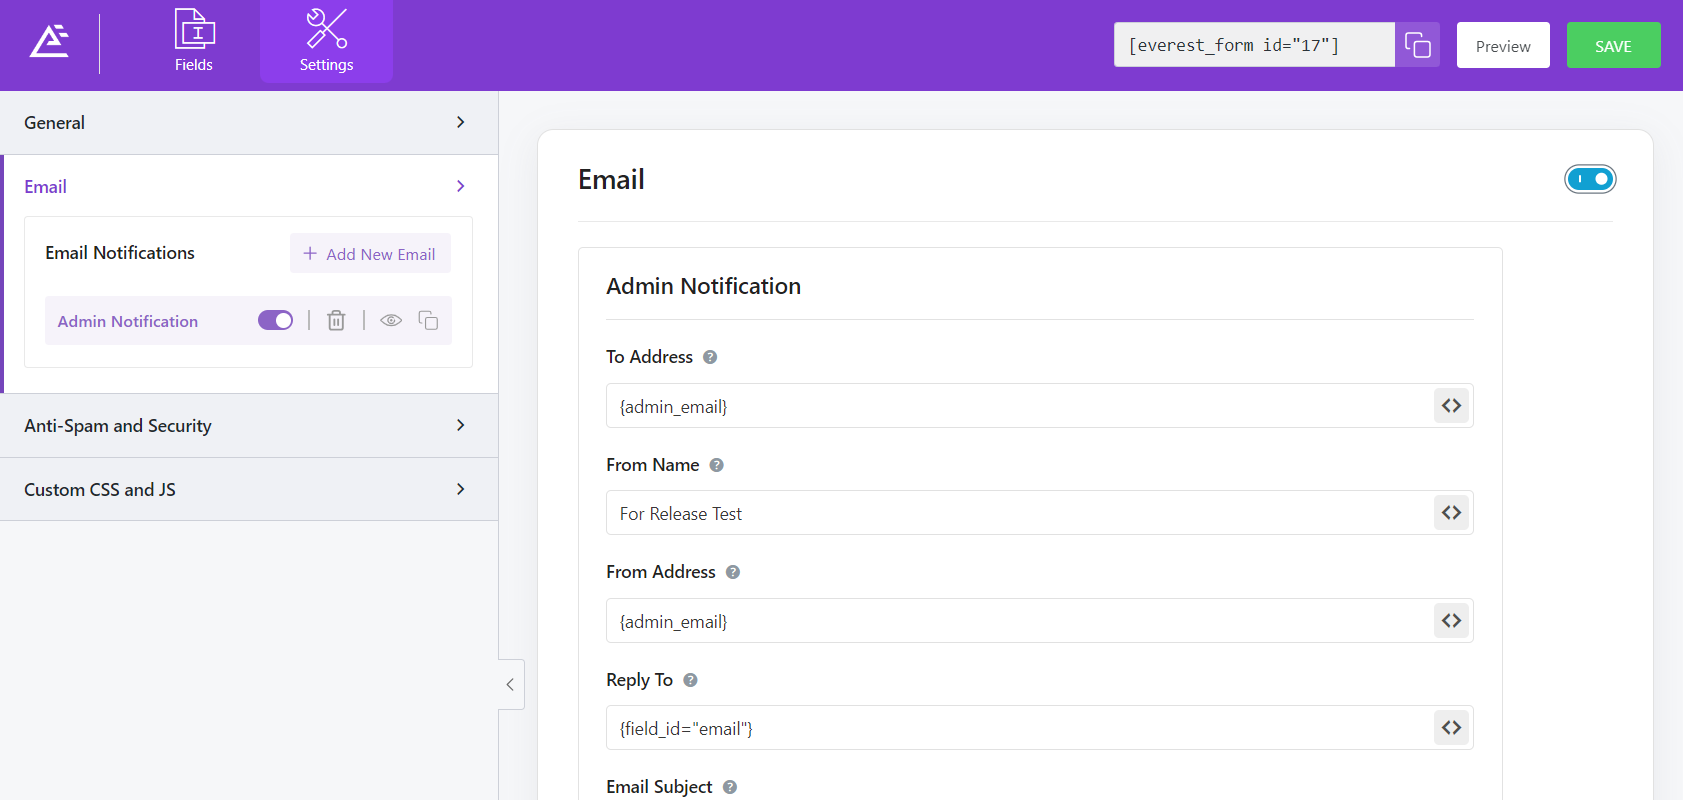
By default, an Admin Notification email setup is already created on any form you create. However, you need to check the email settings to be sure that emails are delivered correctly.
For this go to your individual Form —>Settings—>Email—>Admin Notification.

To Address: #
To Address refers to the email address where you would like this email notification to be delivered once a user submits the form. Since we are setting up an admin notification email we enter the admin email here.
You can add more than one email address by separating each email with comma
From Name: #
From Name enables you to add the desired Name to be displayed when sending the form. Basically, if the email is being triggered to Admin then you may want to add the user’s name who filled the form. It is possible to dynamically grab the Name by using Smart Tags.
If you are using smart tag make sure you have the Name field required in your form else this might be empty if the user doesn’t fill up their name in the form. Empty From N
From Address: #
From address refers to the email address from where the forms are sent. For this, you can use your admin email
If this is user notification email then you may want to set reply-to address to admin email.
Email Subject: #
You can add the subject of the emails sent along with the form if you want right here.
Email Message: #
Any specific message that you would like to send each time on the form can be written here.
{all_fields} smart tag can be used to display all the form fields information filled by the user. This is very handy if you as an admin would like to receive all the field information to be delivered to your email address.
Email Preview #
You can preview the email you have added with the help of the preview button on the side of the email notification name.
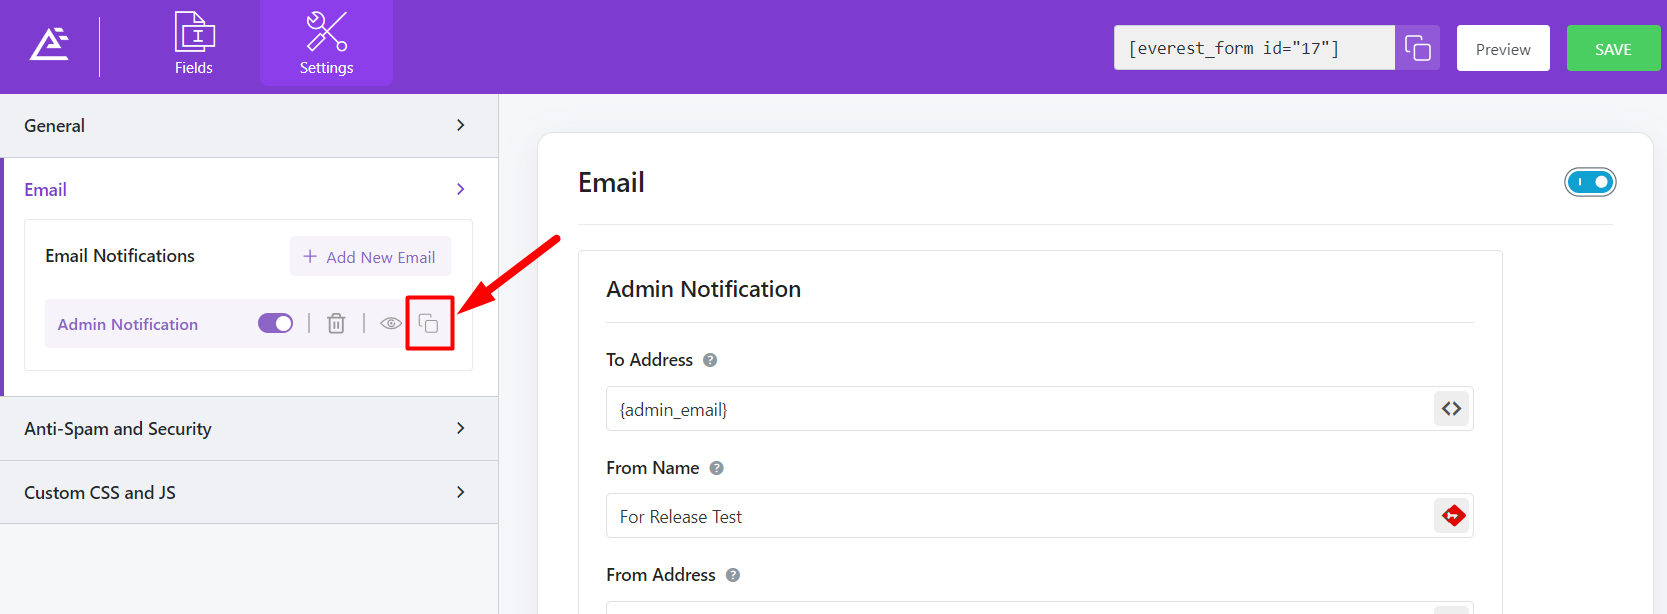
Email Duplicate #
You can duplicate the email notification if you just have to make minor changes to the new notification. Just click on the duplicate icon and give the desired name to the duplicated notification.
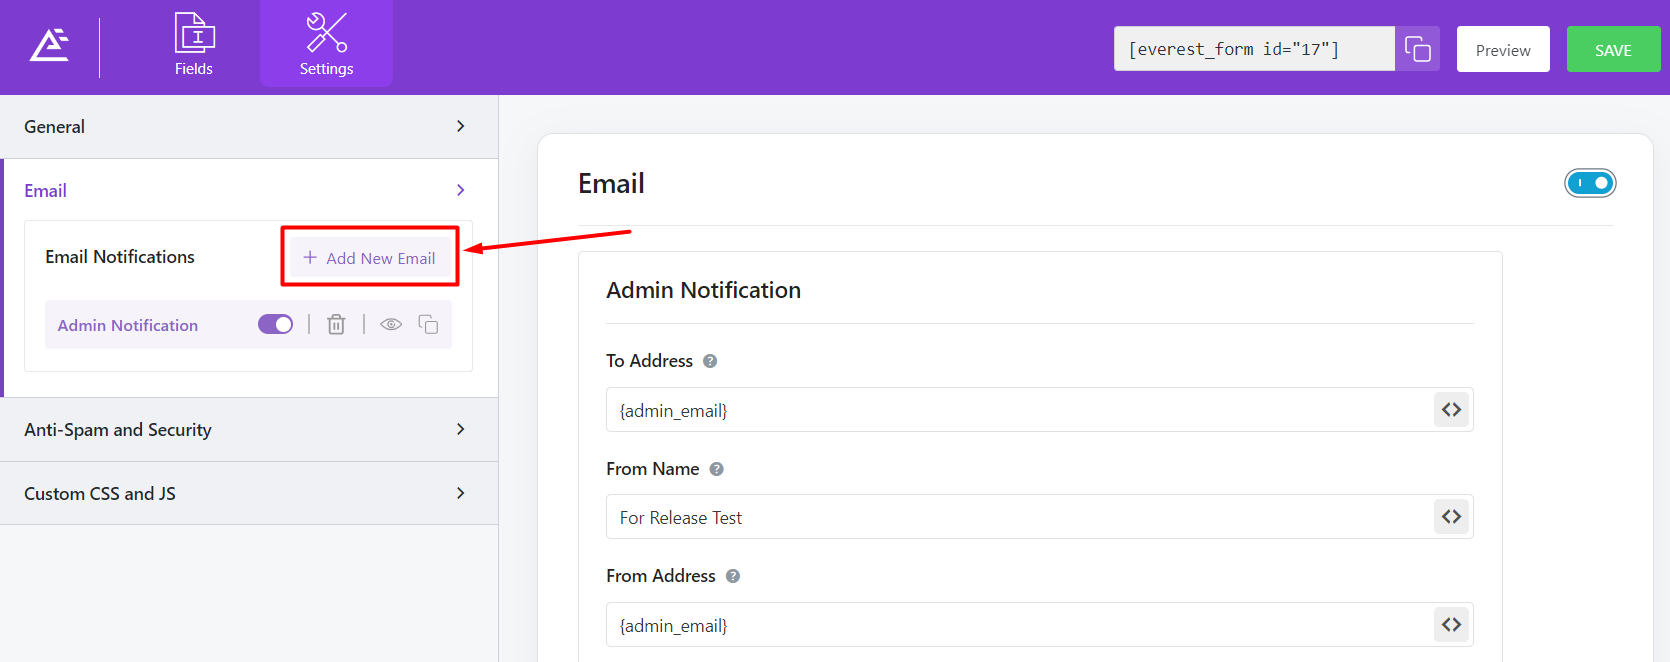
Setting up User Email Notification: #
Sending a confirmation email to your user is a great way to connect with your visitors who filled out the form. You can do this by setting up a user notification email.
For this simply click on the Add New Email button.
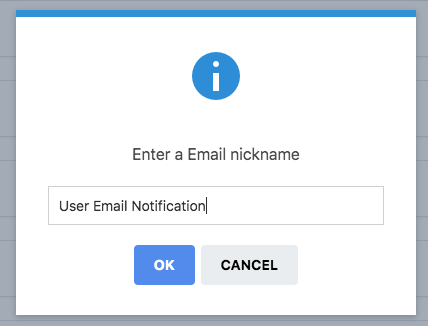
A popup will appear, give it a name. For e.g let’s name it User Email Notification. Then click OK
Now simply start filling in the To Address, From Address, Reply To Address, and other details.
In the To, Address use smart tag to grab the email address of the person who filled the form.
In the From Name, you can enter your site name or your business name
For the From Address, you can use your admin email
In the Reply To enter the admin email. This is the email address where you would like your users to reply to.
Similarly, fill in the Email Subject and Email Message. If you want to send a copy of all the form field details to the user who filled the form, then you can use the {all_fields} smart tags.
Send File with Email: [Pro] #
You can send the files uploaded by the users from the fields like file upload, image upload, and signature as an attachment with the email. For this, please select the option ‘Send File as Attachment’ located at the bottom of the Email settings for each form.
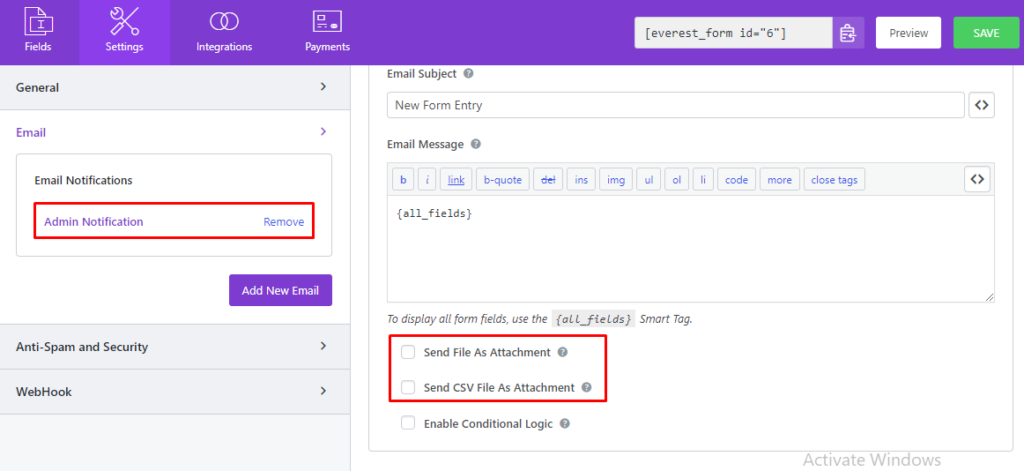
- Send CSV File as Attachment: Enable this option to send the form entries as a CSV file to the email recipient.
Smart Tags #
You can use the following smart tags while modifying the email subject and contents:
{current_date} – Shows Current Date
{current_time} – Shows Current Time
{admin_email} – Displays admin email
{site_url} – Displays the Site’s URL
{page_title} – Displays the page title where the form is located
{page_url} – Gives the page’s URL
{page_id} – Gives the page’s ID
{post_meta key=whatever} – Gives the Post’s Meta
{author_email} – Shows the author’s email
{author_name} – Shows the author’s email
{form_name} – Shows the form’s name
{user_ip_address} – Gives the user’s IP address
{user_id} – Gives the user’s ID
{user_meta key=whatever} – Gives the user’s meta
{user_name} – Shows the username
{display_name} – Shows the user’s Display Name
{first_name} – Shows the First Name
{last_name} – Shows the Last Name
{user_email} – Shows the user’s email address
{user_role} – Shows the user’s Role
{referrer_url} – Shows the Referral URL
{current_data_and_time} – Shows the current date and time
{biographical_info} – Shows the Biographical Information
{entry_id} – Pass the entry ID for each submission.


