
Want to allow the users to choose different email recipients in your form? No worries! Everest Forms Conditional Logic has got you covered! The Pro version of the plugin allows you to implement conditional logic to each form field. And, you can also implement it to send email notifications to multiple recipients according to user choice.
In this tutorial, we will show you the easy steps to use the conditional logic to send email notifications to multiple recipients. So, Let’s get started!
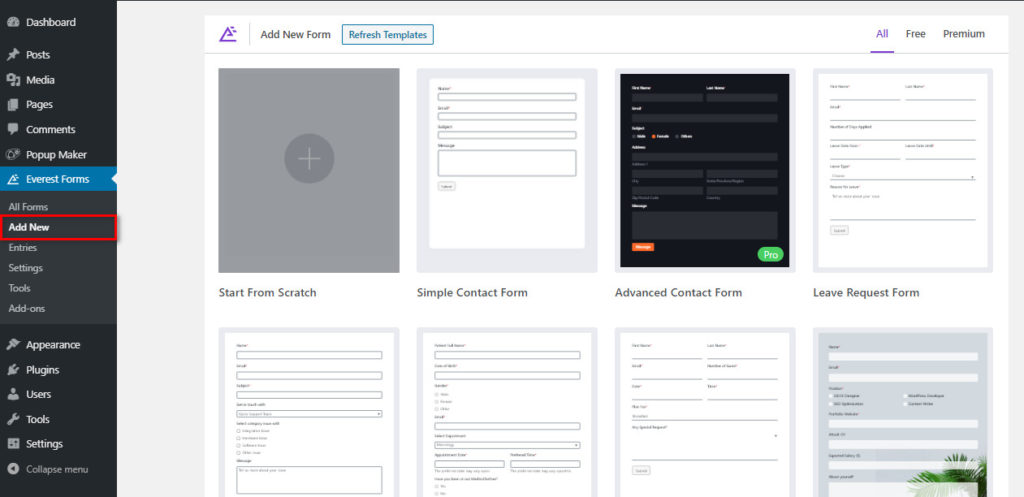
Step 1: Select a Form or Create a New Form #
First, you need to go to the form you want to integrate multiple email recipients. If you have not created a form yet you can create a new one.
Step 2: Add Field for User Choice #
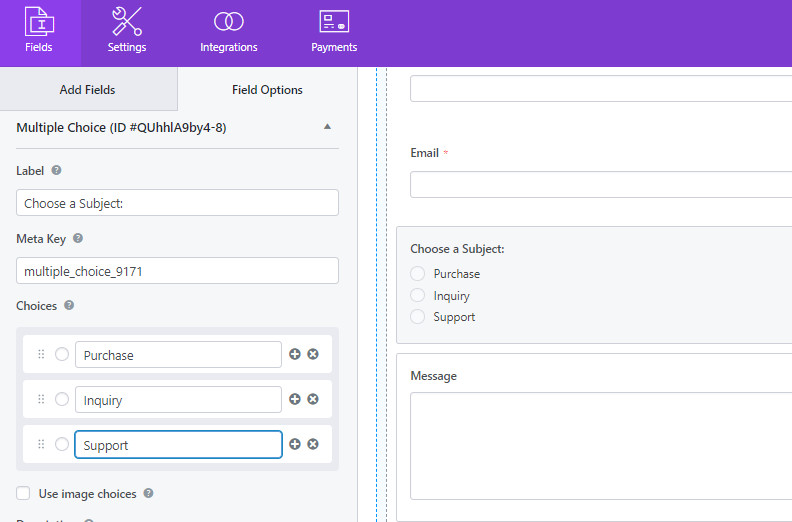
Next, you need to add a choice field so that the users can choose an option. And, according to this user input, the Email Notification will be sent to different emails. So, in the Everest Forms form builder, you can find various choice fields to add options such as Multiple Choice, Checkboxes, etc.
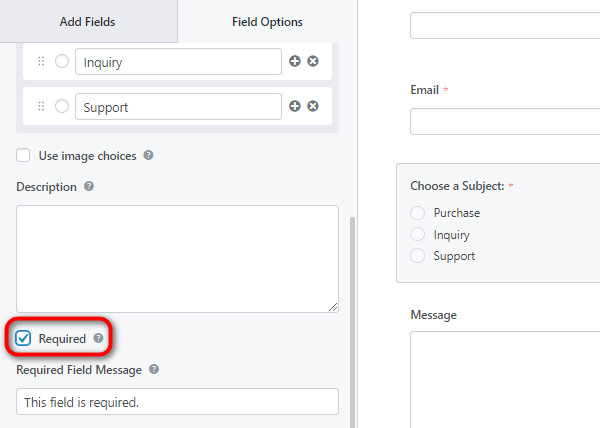
Here, we are using the Multiple Choice field. After you insert the Multiple Choice field to your form, go to the Field Options and you can see the various settings for the field. Here, you can change the Label, Description and enable Required option. Also, you can change the text of the options and add image options too. You can add as many options as you like and delete them according to your needs.
Note: Make sure you enable the Required option on the Field Options as this field is needed to determine the emails.
Step 3: Add Multiple Email Notifications #
After you add the option field to your WordPress form, you can now work on the Email Notification for that form. So, go to the Settings tab on the top-left of the form builder.
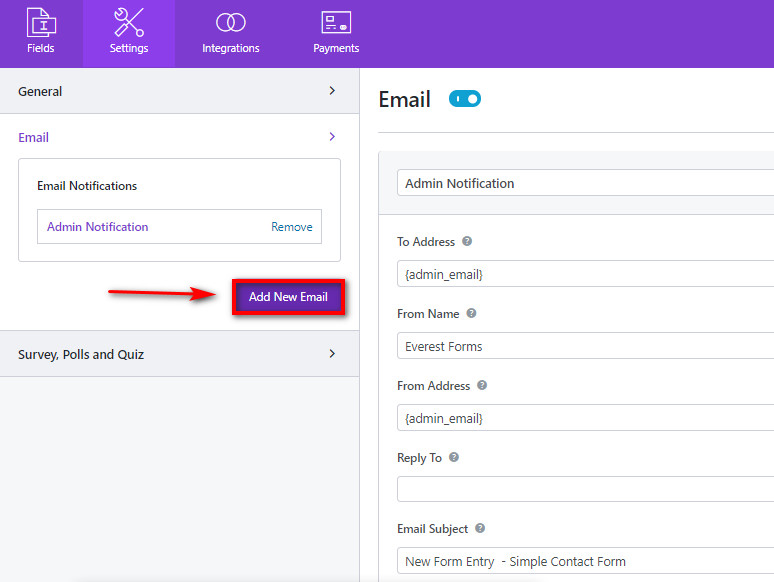
Then, go to the Email Settings and you can see the Default Email Notification settings. To add a new email, you need to click on the Add New Email button on the left-hand side.
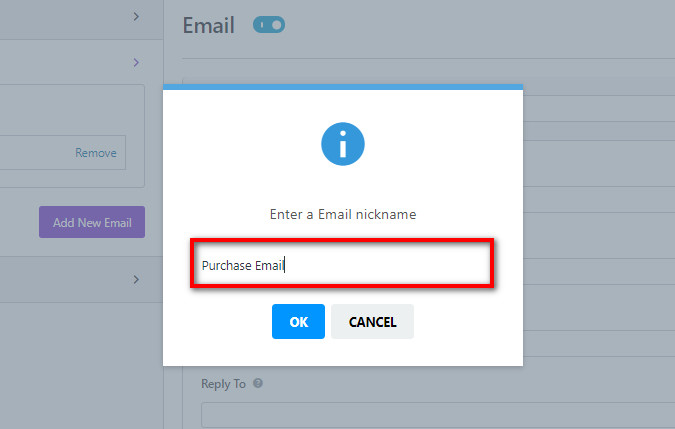
Then, you can give a name to the new email notification. And, add new email settings.
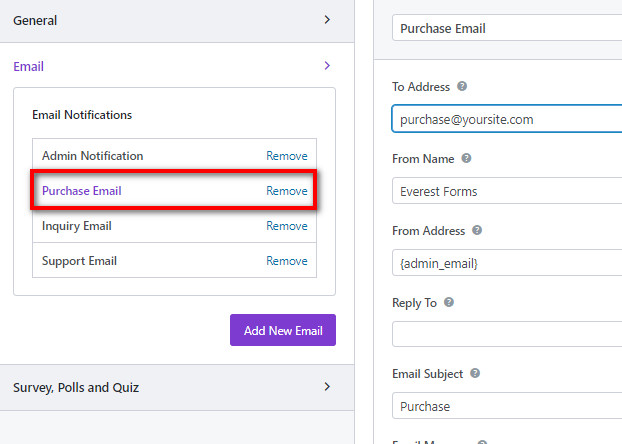
Like this, you can add multiple email notifications according to your requirements.
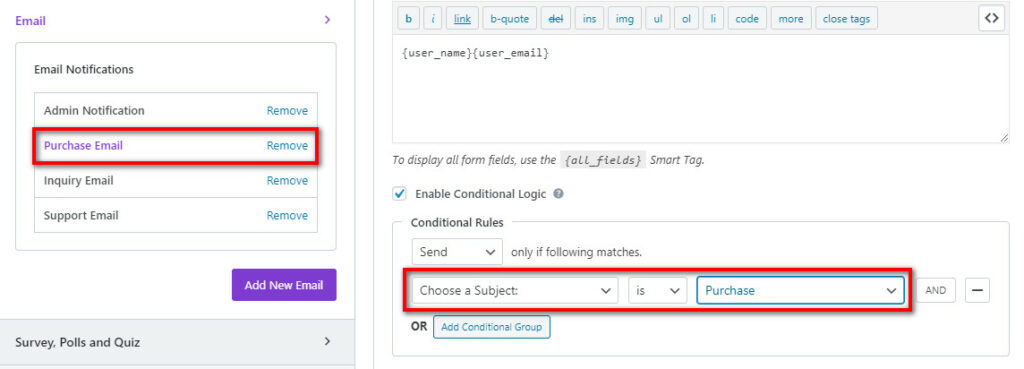
Step 4: Add Conditional Logic #
After you add the multiple email notifications, you can add the conditional logic for each of them. At the end of the email notification settings, there is the Enable Conditional Logic option.
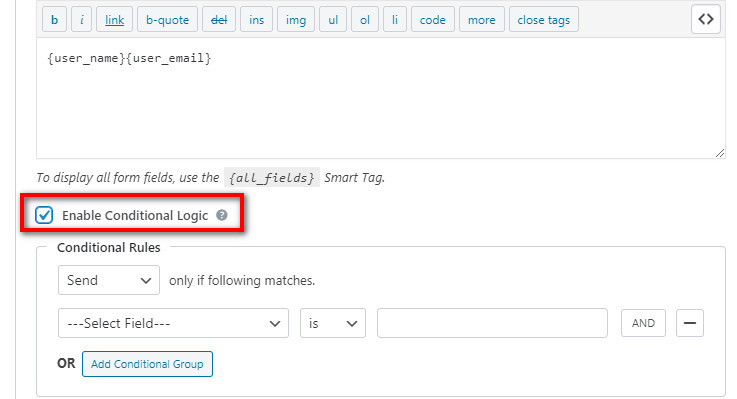
You can add the conditions so that the email is sent only if the user chooses the option that fulfills the condition. Here, we select a form field first which is the multiple-choice field in this example. Then, we select the field option that will complete the condition.
Also, you can add multiple conditions with the use of the AND and OR options. For a detailed explanation of this, you can check this doc on How to Use AND/OR Conditional Logic?
After you are done setting up the conditional logic, you can save your form.


