The Save and Continue add-on allows users to save their partially filled information on Everest Form and continue to work on it later. Users will be able to access it with the help of a link provided to them when prompted with it. They can also choose to receive the link via email.
Similarly, this add-on also includes a feature of the offline form. Sometimes, while filling out the form, the users may face sudden internet problems, and the data they have entered will disappear. So we come up with the offline form feature from where you can restore the data back. The data entered in the form will be stored for 48 hours even if users close their tab or browsers.
Installation #
- Firstly, you need to purchase the Everest Forms Pro plugin.
- After the successful purchase, you will get the plugin zip file under your WPEverest account page.
- Now, you can download the Everest Forms Pro plugin and Save and Continue addon from there.
- Through your WordPress Dashboard, visit Plugins -> Add New -> Upload and then choose the downloaded zip file and then install and activate it.
- Now you are ready to use this add-on for your site.
Configuration #
After finishing the above steps, there are only a few that are remaining in order to configure this add-on on your site.
Go to the Everest Forms -> Add New from your Dashboard. Here, you can either add an entirely new form or modify a current one.
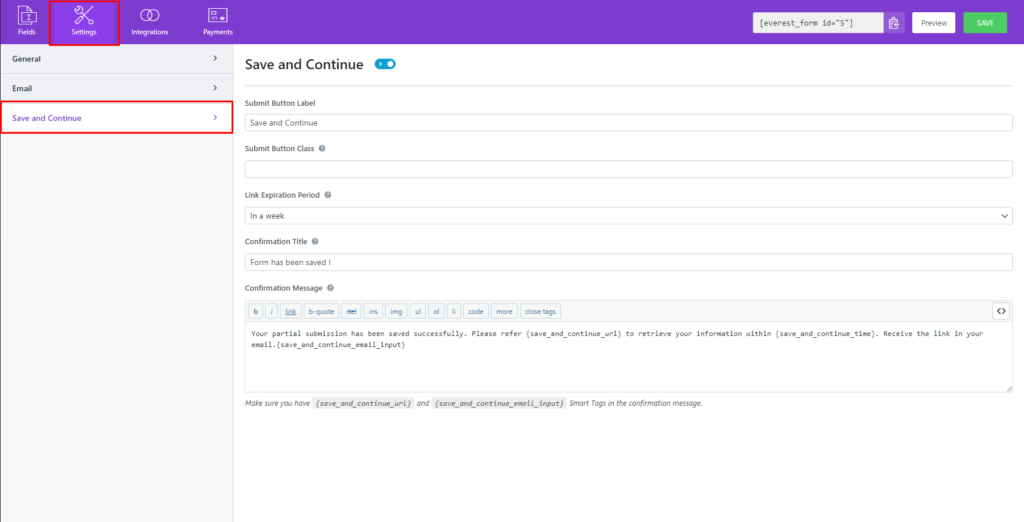
On the Form Builder, go to the Settings tab and you can see Save and Continue. You will get five options inside Save and Continue settings. Each of them is explained below:
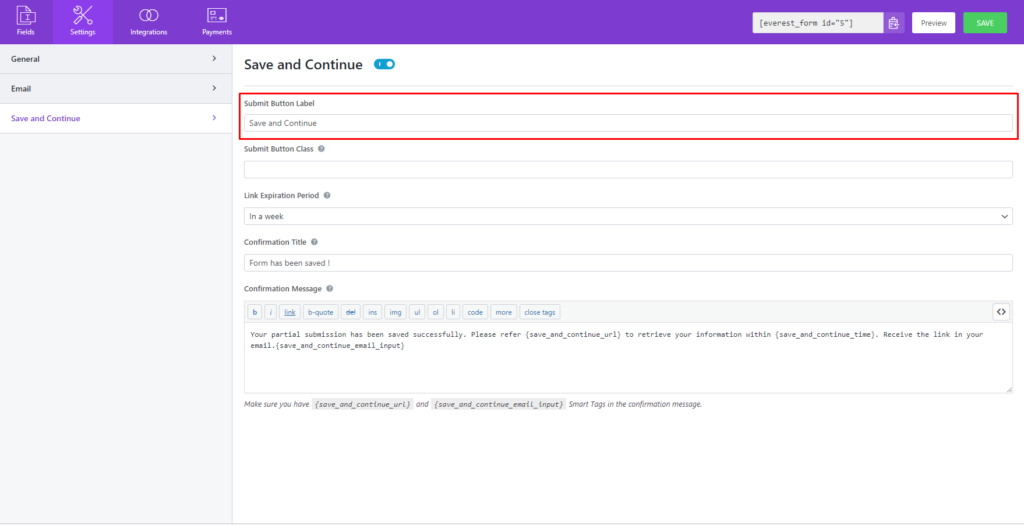
Submit Button Label #
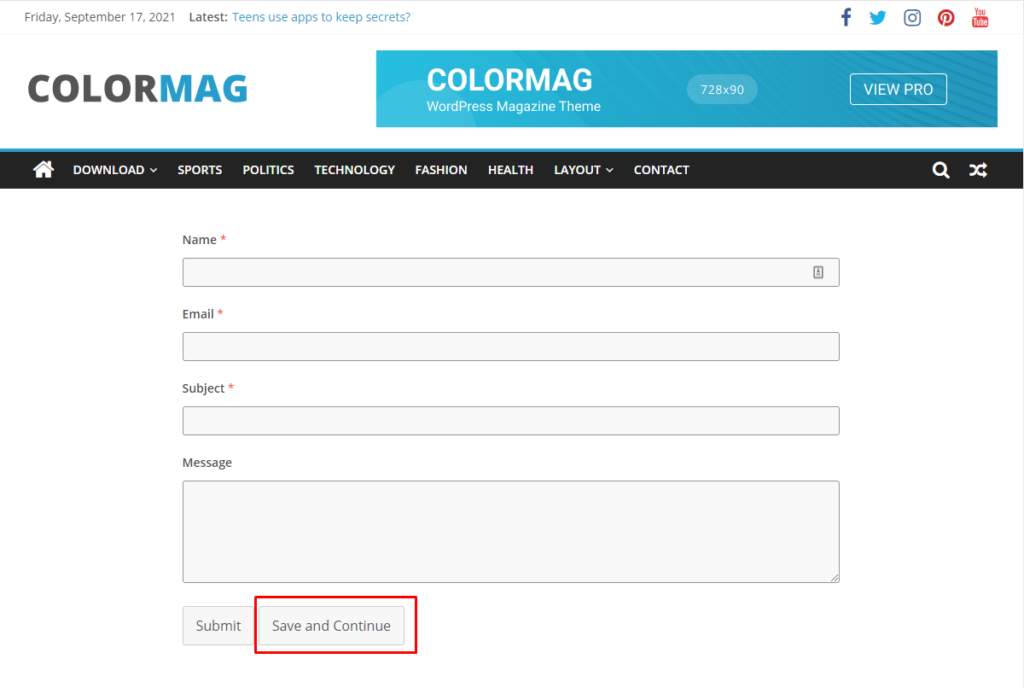
The first option that you will see is the Submit Button Label. It will allow you to change the text of the button that is to be clicked to save the currently filled form.
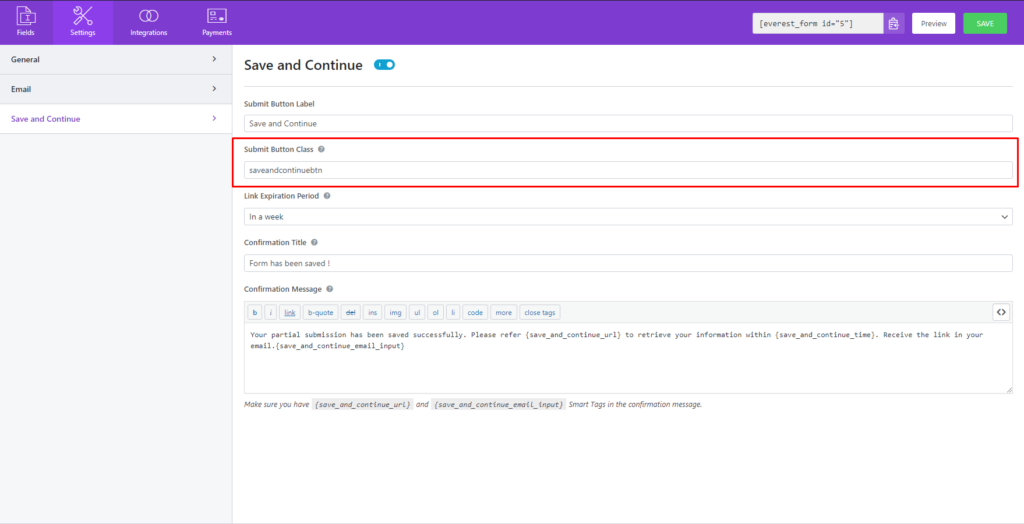
Submit Button Class #
You can also assign a class for the Submit Button yourself with the help of this option.
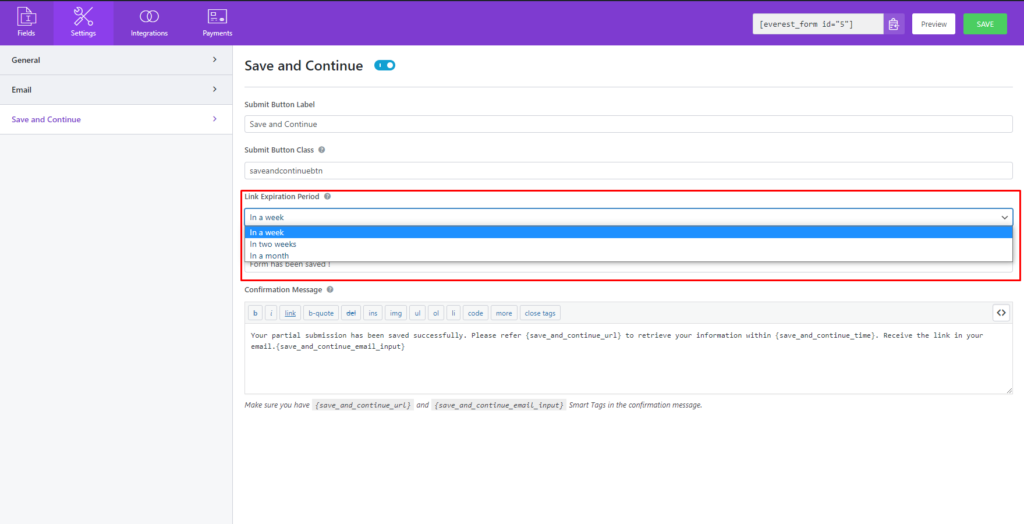
Link Expiration Period #
This will let you select a time period over which the link generated for the users to allow save and continue, is valid. There are 3 options provided for the time period:
- In a week
- In two weeks
- In a month
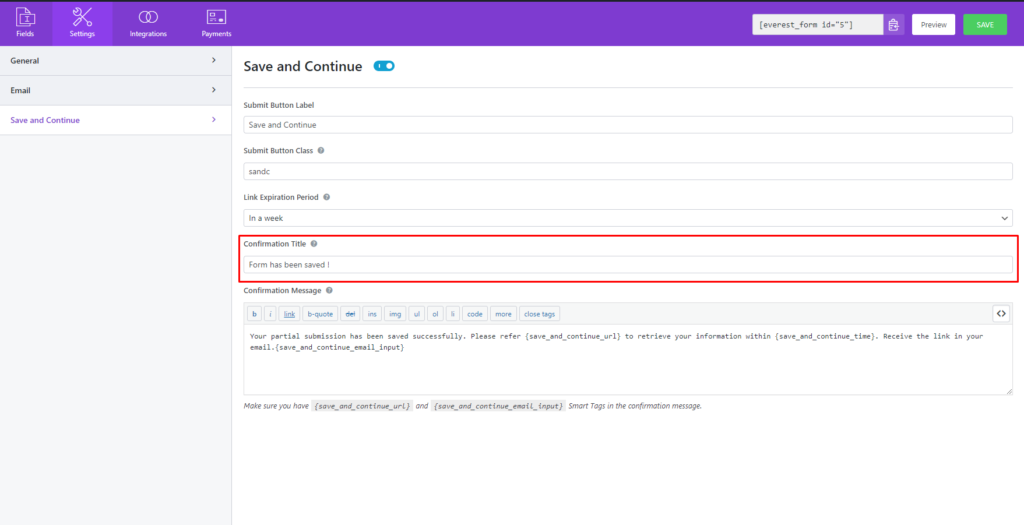
Confirmation Title #
You can also change the title inside the prompt box that appears after users click on the Save and Continue button.
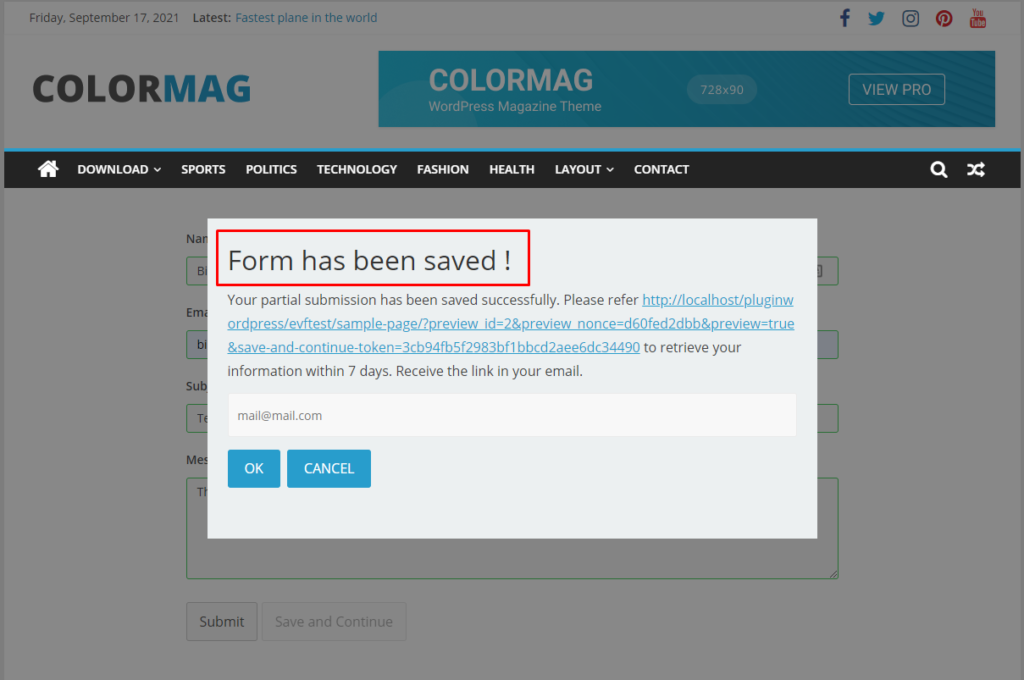
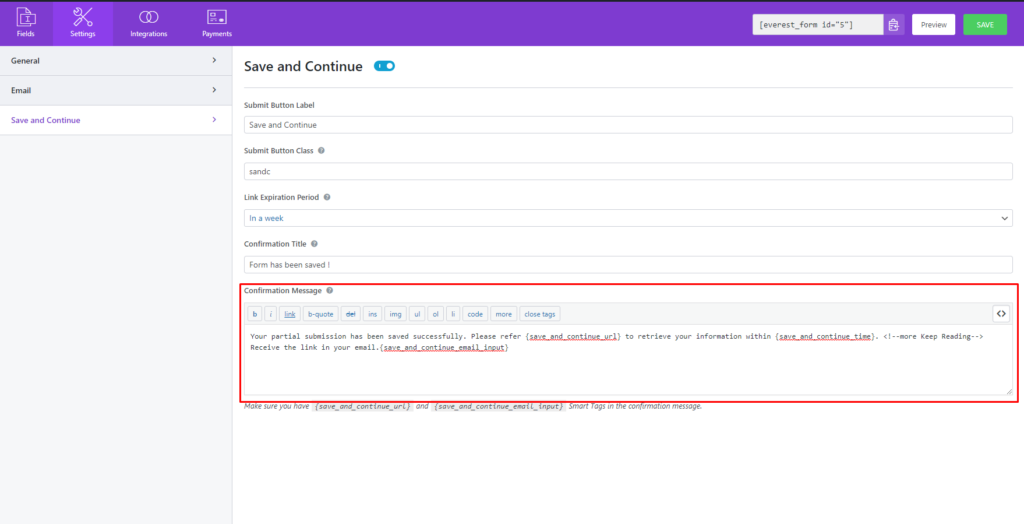
Confirmation Message #
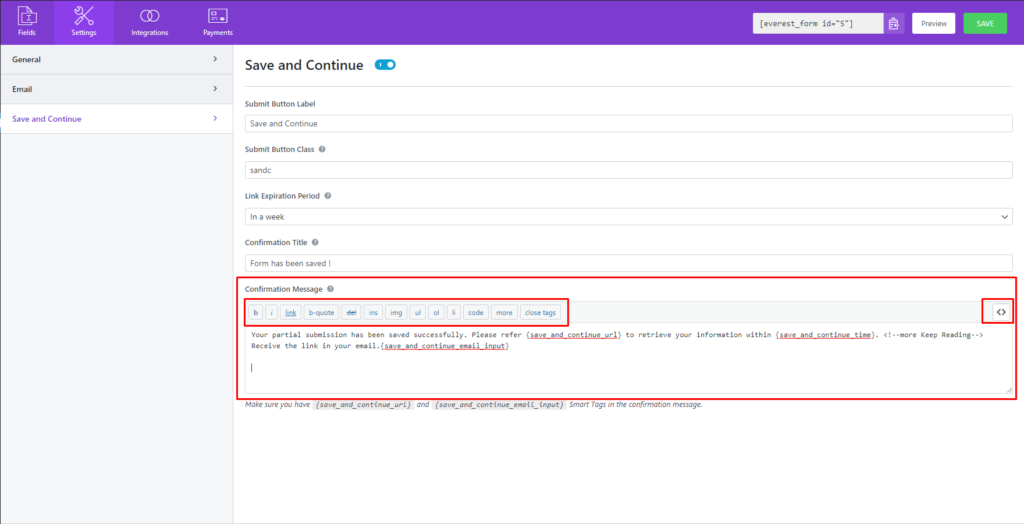
The confirmation message field allows you to type your custom message for the prompt box that appears after users click on Save and Continue button. The message box also consists of various editing options as listed below:
- Bold text: b
- Italic text: i
- Inserting link: link
- Inserting blockquote: /b-quote
- Inserting “del” element
- Inserting “ins” element
- Inserting image via image URL: img
- Inserting lists: ol, ul and li
- Inserting code snippets: code
- Inserting “read more” tags
Similarly, if you click on the “<>” button on the rightmost side, you will also get an option to add other fields in the Confirmation Message box, like, Site Name, Page Name, etc.
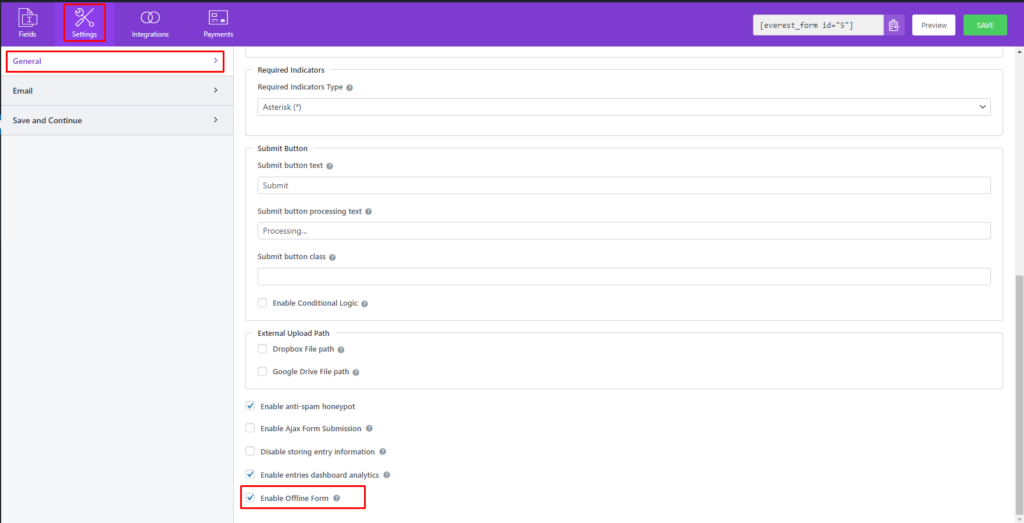
Offline Form #
After installing and activating the Save and Continue add-on, go to the Everest Forms -> Add New from your Dashboard where you can either add an entirely new form or modify a current as mentioned above.
On the Form Builder, go to the Settings tab and click on General. On the bottom of the General settings page, you will find a checkbox named as Enable offline form. If you mark the checkbox as checked, your offline form will be enabled.