
Are you tired of spam bots filling in your form entries? Do you want to stop bots interacting in your website? No need to worry! You can integrate reCAPTCHA in WordPress forms to avoid spamming in your site.
Google reCAPTCHA is a free service that anyone can use to prevent spam and abuse on their website. So, reCAPTCHA helps website owners distinguish bots from valid users. If you integrate reCAPTCHA on your site then, your website is sure to be secure from spamming and abusive users.
In this tutorial, we are going to give you detailed and clear-cut instructions to integrate reCAPTCHA for your forms using Everest Forms. Let’s get right into it!
STEP 1: Create an account for your site #
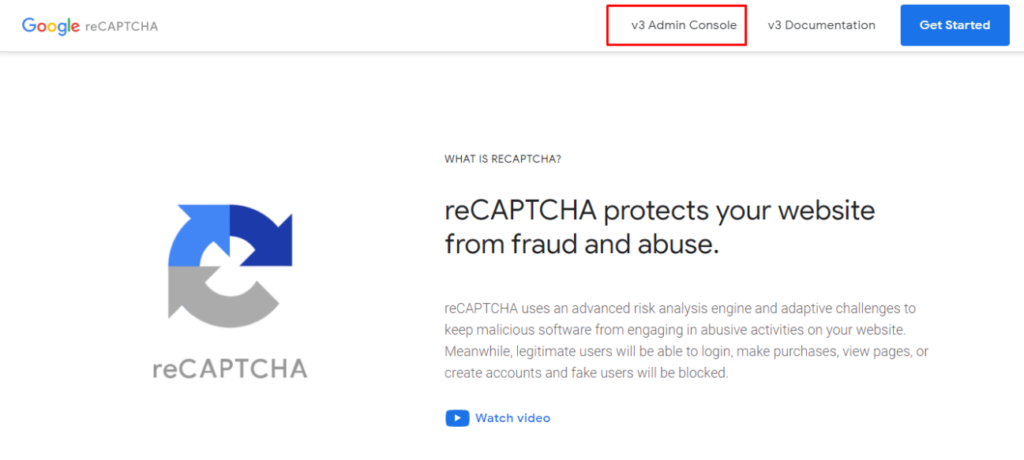
First and foremost, you need to register your site. So, go to Google’s overview page and click on the Admin Console.
If you haven’t registered a site yet, you will need to register a new site.
So, fill up the fields such as Label, reCAPTCHA type, Domains, Owners, Terms of Service, and Send alerts to owners.

After you’re done, click on SUBMIT.
About reCAPTCHA type: #
There are two types of reCAPTCHA that you can integrate in your site i.e. reCAPTCHA v2 and the NEW reCAPTCHA v3.
reCAPTCHA v2 tracks users actions to identify bots. There are three options in this:
- Checkbox reCAPTCHA
- Invisible reCAPTCHA
- reCAPTCHA Android
reCAPTCHA v3 returns a score for each request from 0.0 to 0.1. And, depending on the score the valid requests are passed. So, it doesn’t track user friction like v2.
Click here for more details on reCAPTCHA types.
About reCAPTCHA keys: #
After your site is registered, you need to copy the given Site Key and the Secret Key to Everest Forms reCAPTCHA settings.
However, this Site key and Secret key will not work for other reCAPTCHA types.
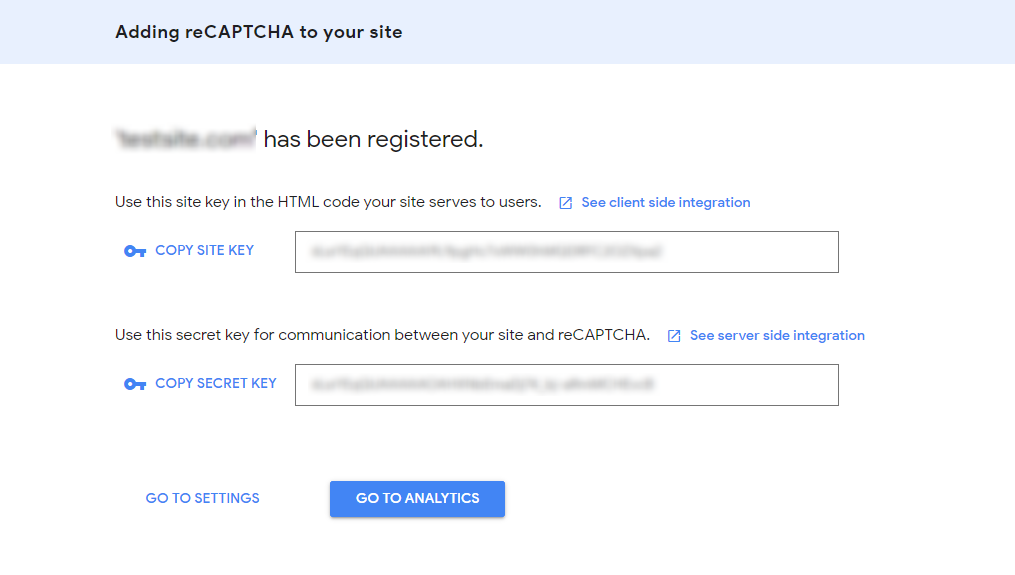
Note: For each reCAPTCHA type, there is a different pair of keys. Meaning each reCAPTCHA type, even of the same version has a unique pair of keys
STEP 2: Choose the reCAPTCHA type for your forms #
Everest Forms allows you to not only invoke reCAPTCHA v2 but also, reCAPTCHA v3 on your forms.
First, go to your WordPress dashboard and go to Everest Forms>>Settings. Now, click on the reCAPTCHA tab there and, fill in the fields there.
reCAPTCHA v3 #
For v3, select reCAPTCHA v3 in the reCAPTCHA version option. Then, copy and paste the Site key and Secret Key for reCAPTCHA v3 from your Google’s reCAPTCHA admin console.
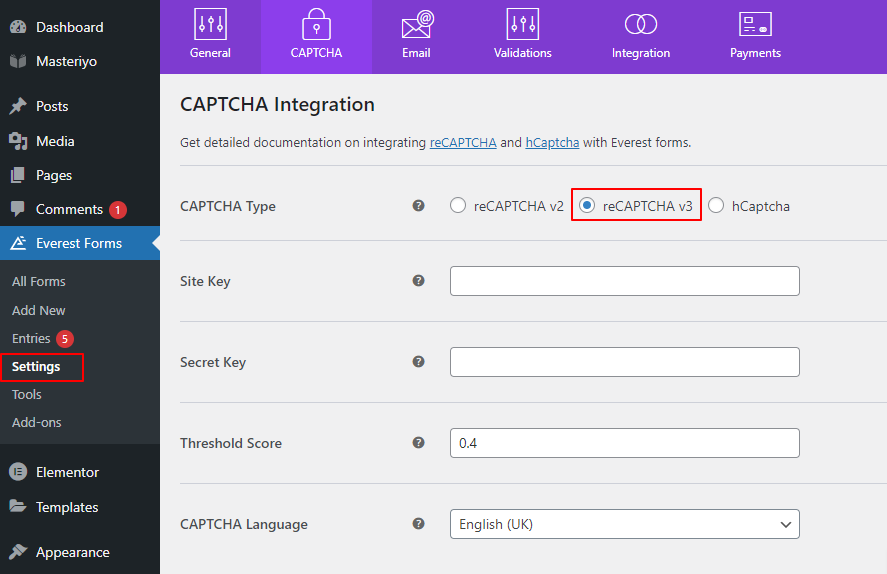
reCAPTCHA v3 returns a score for each request (1.0 is very likely a human, 0.0 is very likely a bot).

Google reCAPTCHA uses algorithms to analyze user interactions and determine if they're human or automated bots. These algorithms observe actions like mouse movements, typing, and browsing behavior to assign a score to each interaction. If the score is low, indicating potential bot activity, reCAPTCHA may prompt the user to complete additional challenges, like selecting specific pictures. Conversely, if the score is high, close to 1, it's likely a genuine human interaction, and reCAPTCHA allows the user to continue without further interruption. Therefore, the lower the score, the more likely the user will need to prove they're human.

In the Threshold Score area, you can set the score threshold from 0.0 to 1.0. Any requests resulting in a score equal to or greater than that threshold will be approved. Any requests resulting in a score less than the threshold set below will be blocked, so be judicious in how you set this.
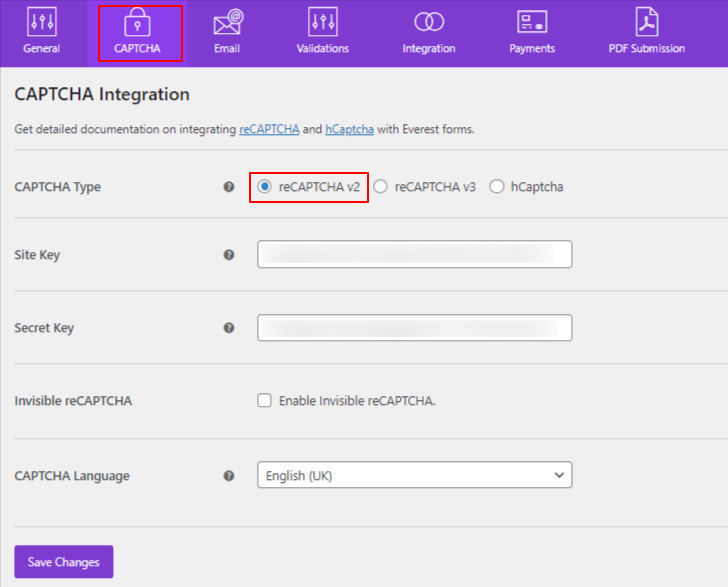
reCAPTCHA v2 #
For v2, select reCAPTCHA v2 and paste the keys for the reCAPTCHA type you chose(Checkbox, Invisible or Android).
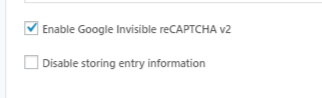
If you’re using invisible reCAPTCHA, you need to check the Enable Invisible reCAPTCHA option.
Invisible reCaptcha
With this invisible reCAPTCHA, no user interaction is required at all. Similar to the “I’m not a robot” reCAPTCHA, Google also analyzes the user’s activity like typing patterns, mouse movements, and browsing history. The reCAPTCHA can be invoked directly when the user clicks on a native button on the page or via a JavaScript API call.
Once you’re done, Click on Save Changes.
STEP 3: Enable reCAPTCHA in forms #
Now, to integrate reCAPTCHA in WordPress forms, you need to enable reCAPTCHA. For this, go to Everest Forms > Add New. Or, choose any previously created form. In the Form Builder, click on Settings > Anti-Spam and Security.
Then, Click on the Enable Google reCAPTCHA v3 or Enable Google reCAPTCHA v2 checkbox according to your reCAPTCHA type. After that, hit SAVE.

Your work is done! Your forms are now protected from unwanted abusive users and bots.
STEP 4: Testing reCAPTCHA #
Lastly, you can test the reCAPTCHA by allowing form entries in your site.
Preview your form to see how the reCAPTCHA works.
For Checkbox reCAPTCHA v2 #
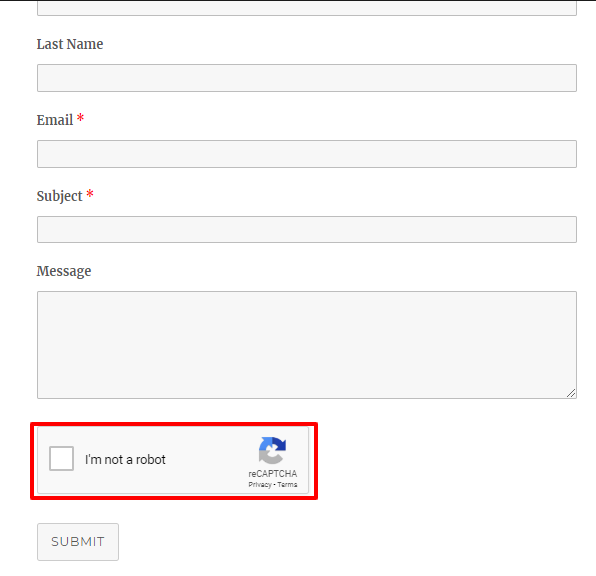
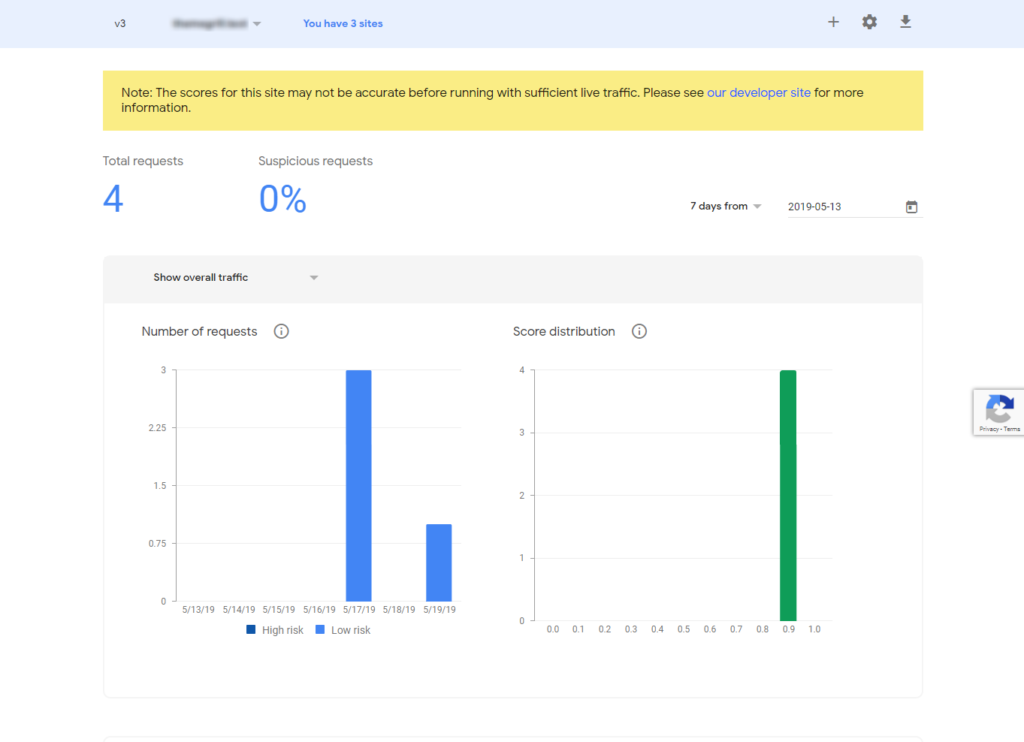
For Invisible reCAPTCHA v2 and reCAPTCHA v3 #

In the Google reCAPTCHA admin console, you can then view the records of the overall traffic on your forms.
Integrating hCaptcha #
Please visit the link below to integrate the hCaptcha on your forms.
https://docs.wpeverest.com/everest-forms/docs/how-to-integrate-hcaptcha/
Wrapping up: #
Therefore, you can now integrate reCAPTCHA in your forms with no trouble using our Everest Forms plugin.
We hope you found this tutorial helpful.


