
User Registration MailerLite add-on allows you to synchronize User Registration with MailerLite.
Installation #
- First, purchase the User Registration – MailerLite add-on.
- After the process succeeds, you will get the add-on zip file under your WPEverest account page.
- Now, you can download the add-on zip file from there.
- After you log into your WordPress Dashboard, go to Plugins > Add New and click the Upload Plugin button available there and choose the file you’ve downloaded and click Install Now button.
- This will install the add-on. Now, you’ve to activate the addon from the Install plugin list.
- Now you are ready to use this add-on for your site.
Now, follow the instructions below to integrate MailerLite with User Registration:
If you already have an Account then please find the API key of your MailerLite account since you will need it for connection. You can find it in your MailerLite account by following this doc: http://help.mailerlite.com/article/show/35040-where-can-i-find-the-api-key
If you do not have a MailerLite Account then you will need to create an account first and then come back to this documentation to set up the connection.
Configuring MailerLite Account in User Registration #
After you have got the key, you will need to enter the API key to User Registration settings.
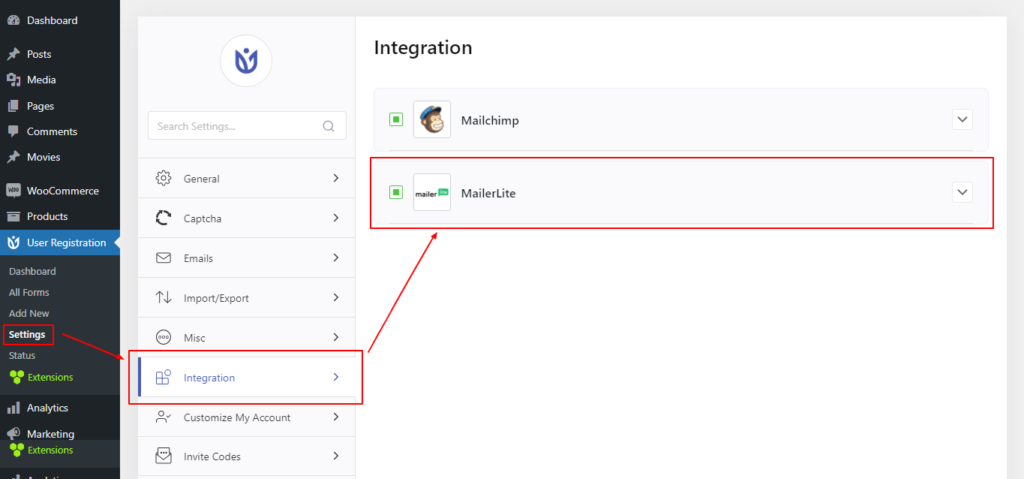
Navigate to User Registration->Settings -> Integration ->MailerLite.
Enter the API Key, and MailerLite Connection Name and click on Connect.
Integrating MailerLite Lists with Forms #
Note: By default, MailerLite has a contact list where the subscribers are added. However, you can create other lists in your MailerLite Account. The created list will be shown in the MailerLite Individual Form Settings after you connect it to the User Registration.
To do so, Navigate to User Registration and click on the form you want to connect. Then, go to Form Setting->MailerLite.
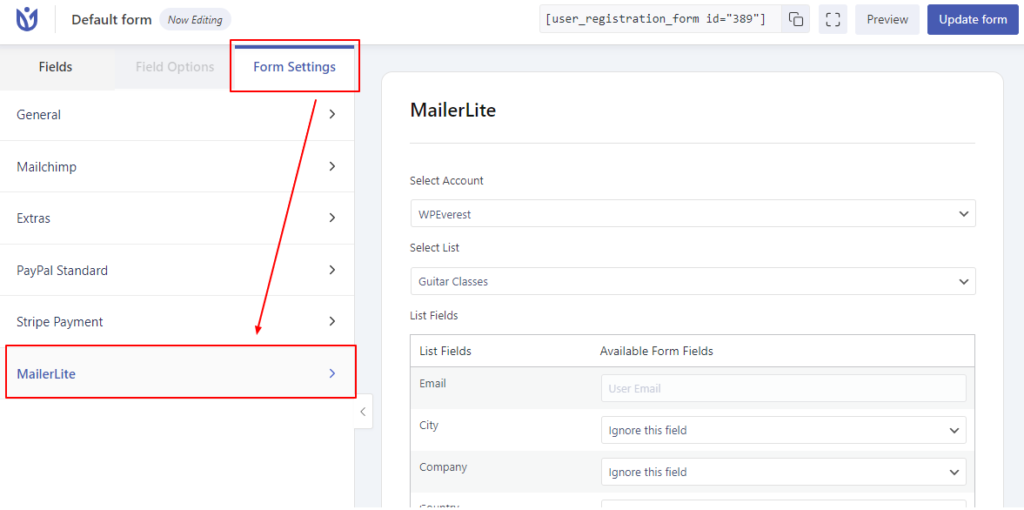
On the right, you can Select the Account with which you have created your list.
Now, on the Select List option, choose the MailerLite list that you created.
Finally, map User Registration fields to MailerLite List Fields.
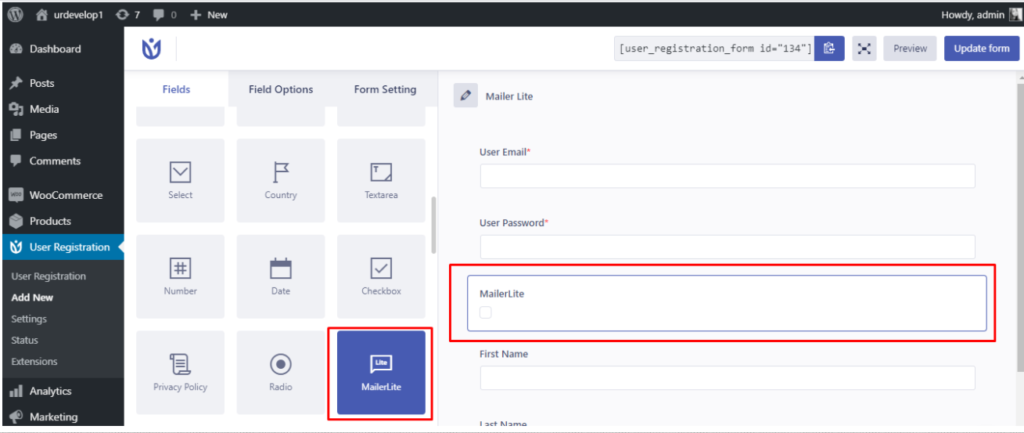
Creating a MailerLite Registration Form #
To create a Mailchimp registration form, you can go to User Registration -> Add New and add the MailerLite field and other necessary form fields.
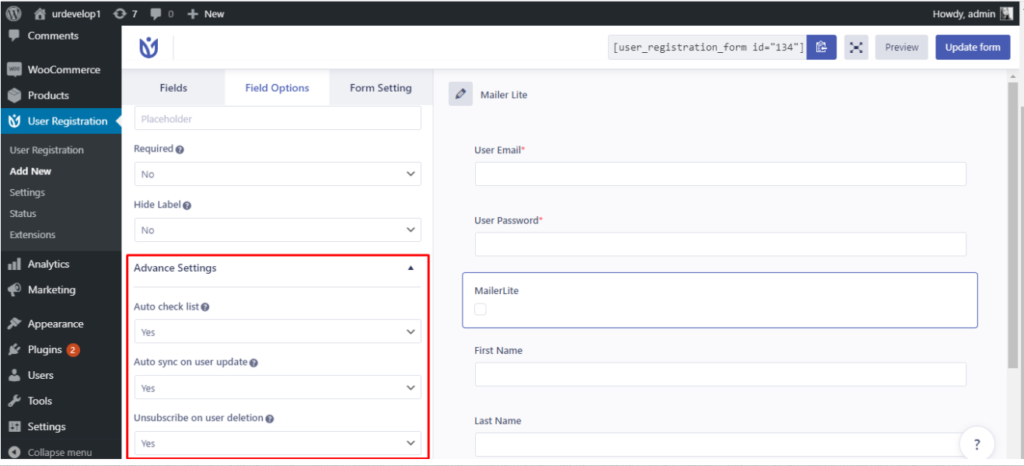
In the Advanced settings, you can see the following options:
- Auto checklist: Enabling this option will check the MailerLite field by default in frontend form.
- Auto-sync on user update: This option allows you to automatically synchronize the user profile details updated in the MailerLite account.
- Unsubscribe on user deletion: This option allows you to unsubscribe the users from that specific MailerLite list when they are deleted from the site.
After following up the above-given steps, if any user registers to your site from the User registration sign-up form, it will be synchronized to the MailerLite list.
Note: Admin also can add the users to the MailerLite list from the User table of the WPAdmin by ticking the MalierLite field in the Users table.
Double Optin and Conditional Logic #
Double Optin #
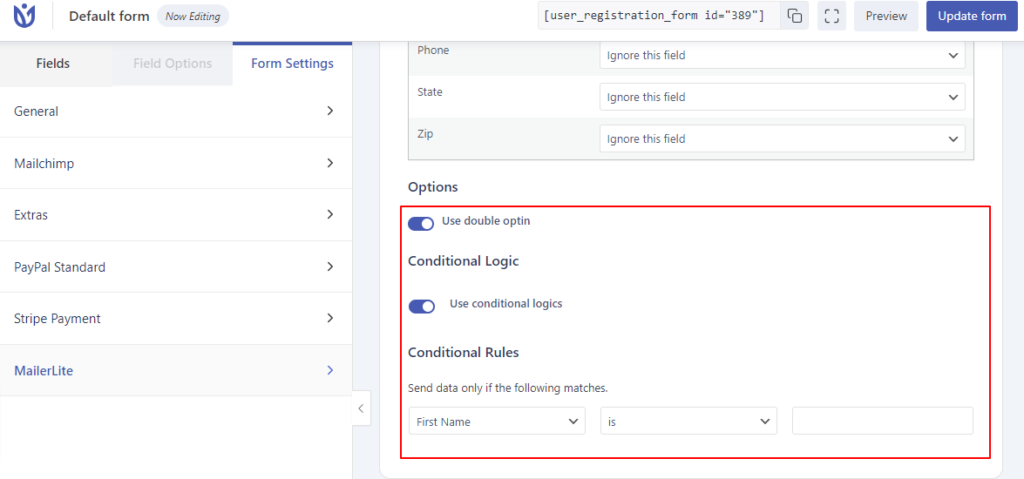
If you want to send a verification message to users before subscribing, check the ‘Use double optin’ checkbox.
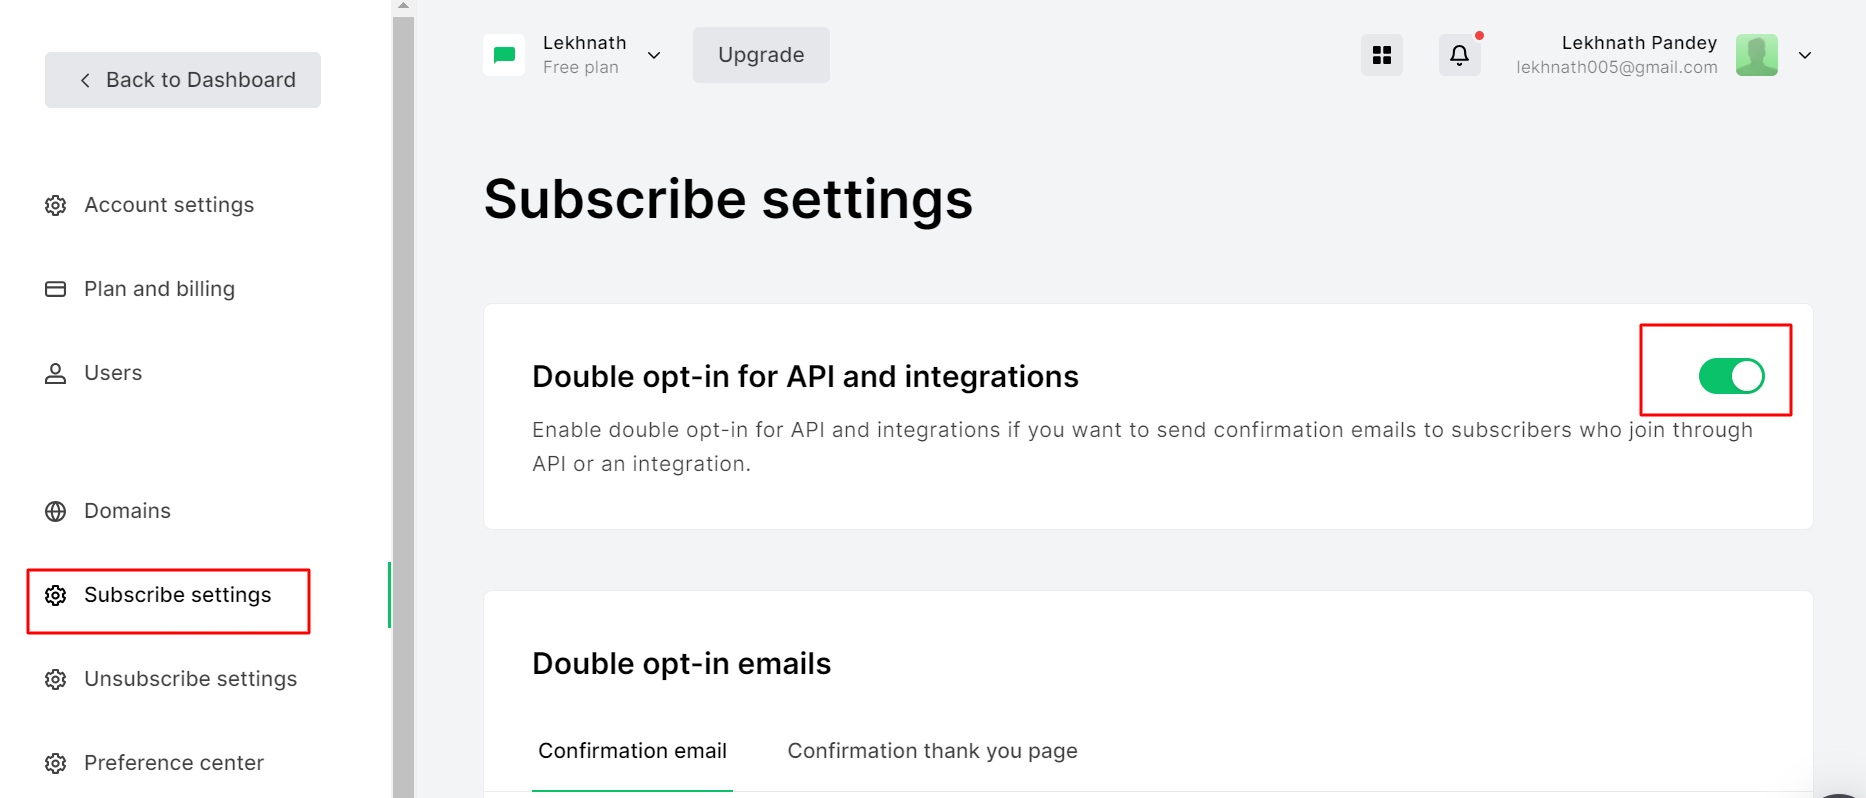
For MailerLite New Version #
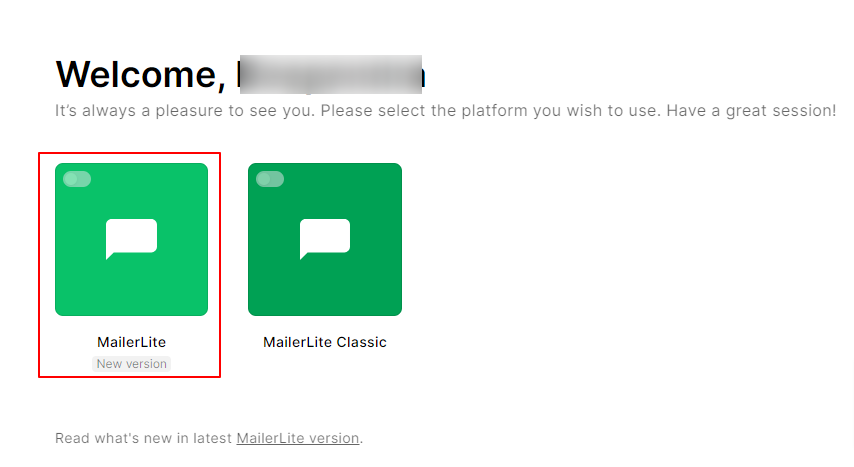
If you are using MailerLite New Version’s API, you will need to activate the double option from the account dashboard first. For this, login to your account, go to Dashboard > Subscriber Settings. From here you can enable the Double Optin.
Conditional Logic: #
Now, you can use conditional logic to send data via Mailerlite. For this, add the MailerLite field to your form and go to the Form Settings.
Now, select MailerLite and enable the ‘Use Conditional Logic’. Add the required conditions and if the condition is met, your data will be sent to the MailerLite.


