
The Frontend user listing add-on of the User Registration allows you to list the details of the registered users on the site in the frontend.
Installation #
- First, you need to purchase the User Registration Premium to get the User Registration Pro plugin/add-on.
- After the successful purchase, you will get the plugin zip file under your WPEverest account page.
- Now, you can download the plugin zip file from there.
- Through your WordPress Dashboard, visit Plugins -> Add New -> Upload and then choose the downloaded zip file and then install and activate it.
- Now you are ready to use this add-on for your site.
How to create a Frontend Listing #
The Frontend Listing feature will be used on shortcode basis. To generate the shortcode, Go to User Registration > Frontend listing and click on the “Add New” button at the top. And you will find the setting along with a section to set the title for the frontend listing.
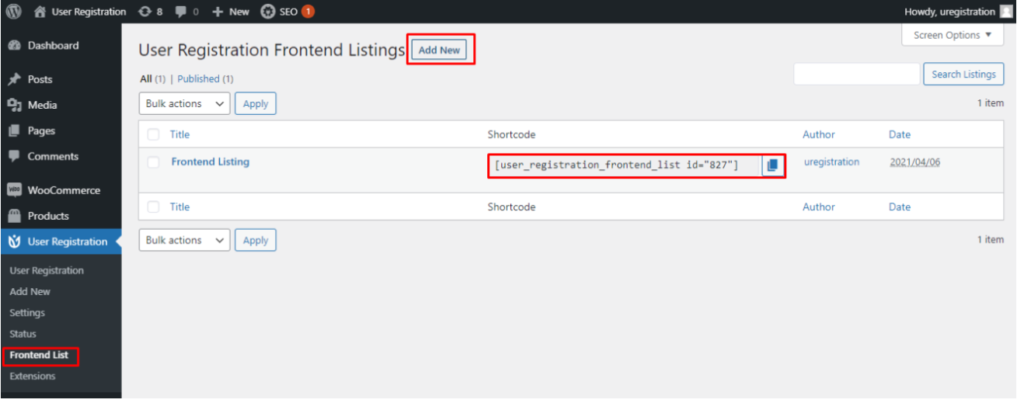
How to display the Frontend listing?
After the shortcode is created, You can add the generated shortcode in the pages where you want to display the Frontend listing of the Users.
Settings and configurations of Frontend Listing #
In the Front end listing, there are 3 main settings and they are:
- General Settings
- Filter Settings
- Search Settings
- Pagination Settings
General settings #
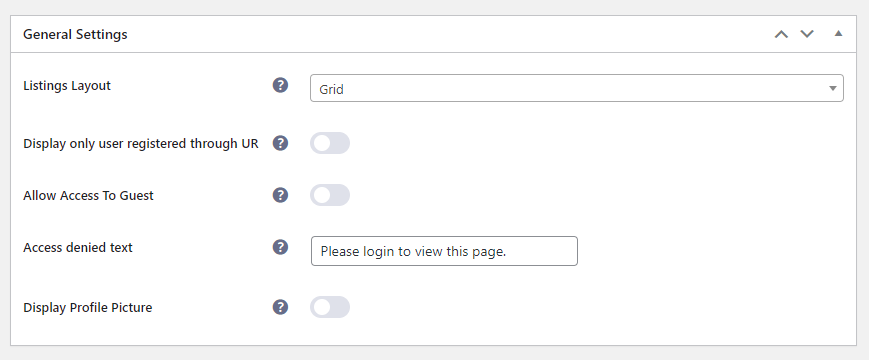
In the general settings, there are five setting options and they are:
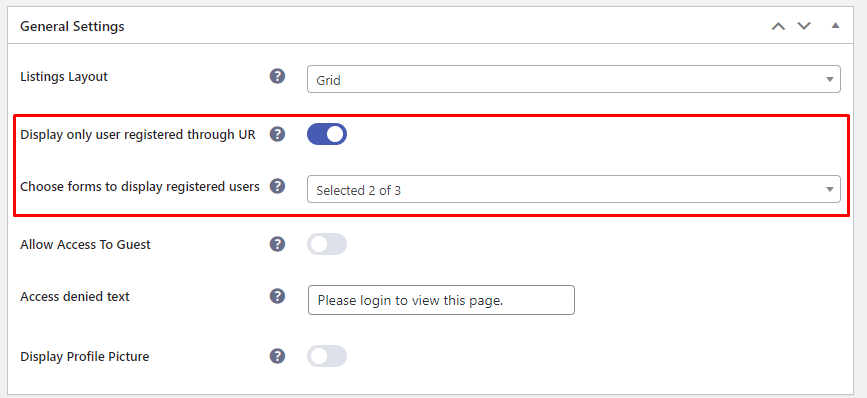
- Listing Layout: Under the Listing Layout section, you have two options to show the layout of the user’s list on the front end, that is you can show a list of the users either in the list or in the grid layout.
- Display only user registered through UR: This setting allows the admin to list only users registered through User Registration Plugin.
- Allow Access To Guest: This option allows the admin either to give access to view the list of users to the guest users or not.
- Access denied text: Write a custom text to show when the users who aren’t logged in try to view the list.
- Display Profile Picture: This option allows the admin either to display the profile picture of the users or not.
Filter Settings #
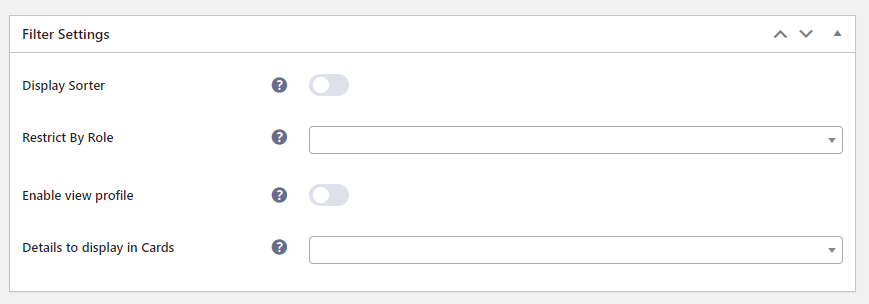
In the Filter settings, there are 4 more settings and they are:
- Display Sorter: This option is used to sort the user list on the front end. After you enable this section an extra section appears and that is “ Default user sorter” where you can sort the users on the basis of the Latest Users, first name, last name, and display name.
- Restrict By Role: Using this option you can restrict to view of the users by role. For instance, if you don’t want to display the users with the “Administration” role in the frontend then you can set the setting here as per your requirements.
- Enable view profile: When this checkbox is enabled, users can view each profile’s details.
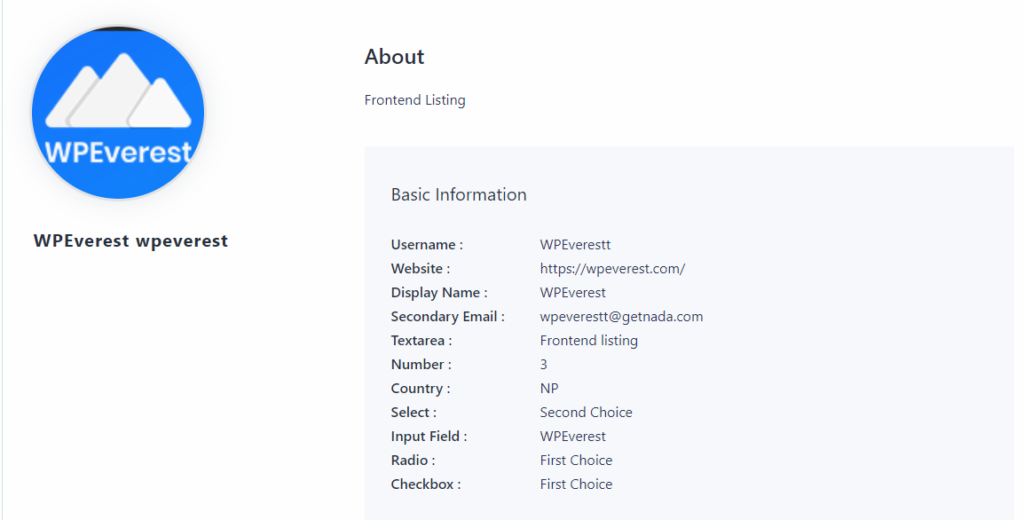
- Details to display in Profile Card: This option allows the admin to select the fields that can be displayed on the individual profile page on the front end.
- View profile button text: Write the text to appear on the View Profile button.
- Details to display in cards: This option allows the admin to select the fields that can be displayed on the overall Grid/List view.
Search Settings #
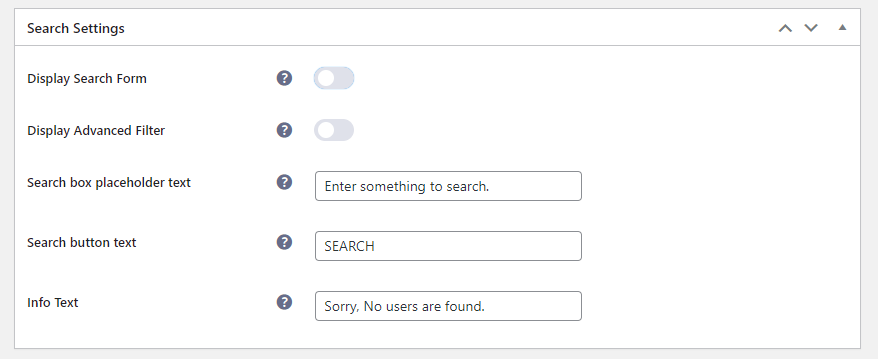
- Display search form: When this checkbox is enabled, you can see the Search form in the User list.
- Search User According To: Select items/form fields to allow the users to search in the user lists using them.
- Display Advanced Filter: Enable/disable the advanced filter option.
- Advanced Filter: Select the form fields to use while doing the advanced filter in the frontend lists.
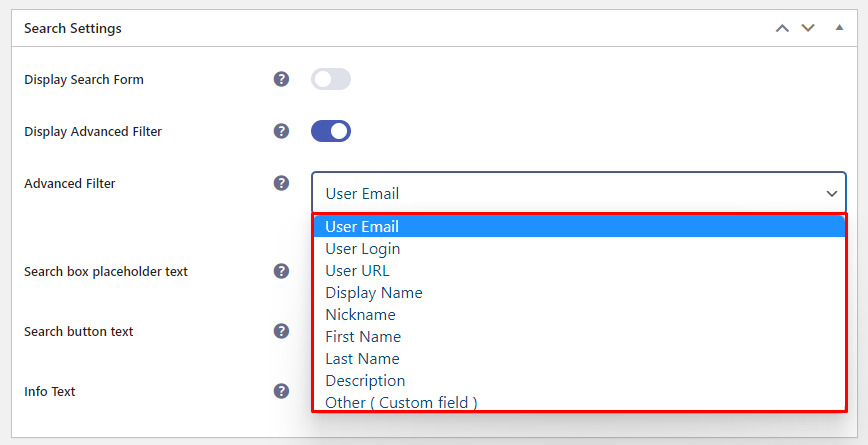
There is an option to add the default registration form fields and custom fields as well. You can directly choose the default form fields from the given list. For the custom fields, you will need to choose Other (Custom Field).
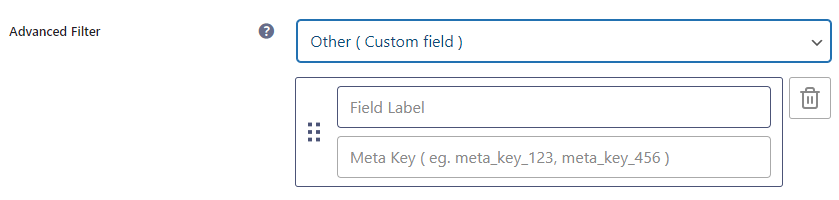
Field Label: You can add the field label as per your need.
Meta Key: On this field, you need to add the ‘field name’ from the Field Option for the desired fields.

You can add more custom fields using comma. For example, Label1, Label2, Label3.
- Search box placeholder text: This option is used to display Placeholder text in the search box. You can customize the message as per your requirements.
- Search button text: This option is used to display text in the Search button. You can customize the text as per your requirements.
- Info Text: This will let the admin enter the text which will be shown when no users are found.
Pagination Settings #
In the Pagination and Result Settings, there are 7 more settings and they are:
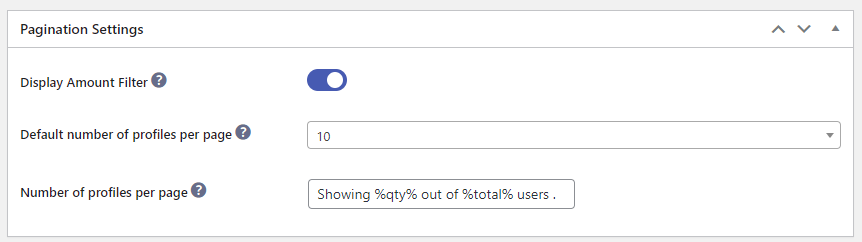
- Display Amount Filter: With this setting, you have the option to display the number of users per page. You can set the 10, 20, 50, or 100 users per page according to your requirements.
- Default number of profiles per page: Enter the number of profiles to be visible on a page on the forntend list.
- Number of profiles per page: After you enable this checkbox, You can see the message to display the number of users displayed out of the total users
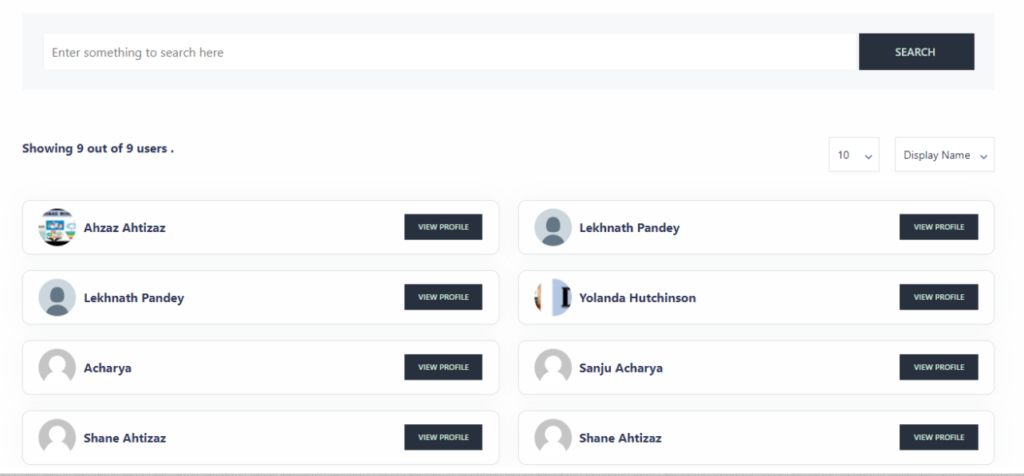
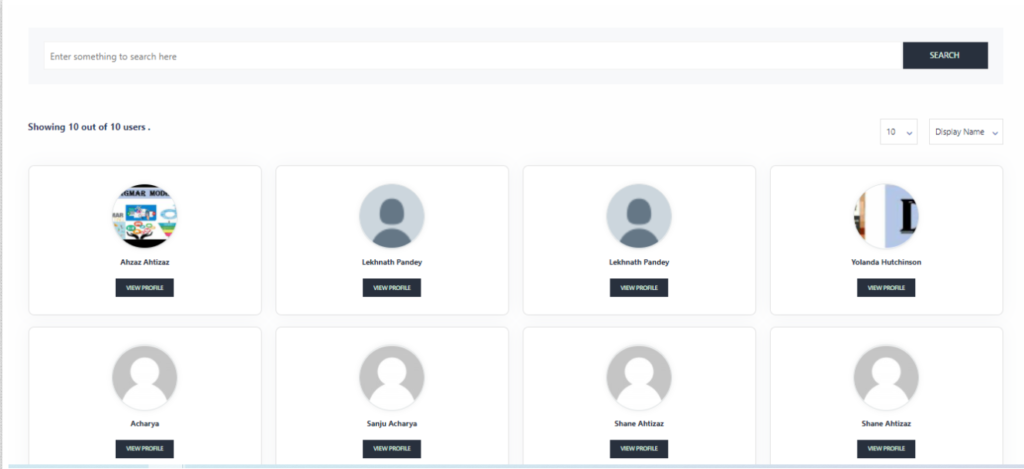
Overall Frontend View of the User listing #
Finally, this is how the frontend listing looks on the Frontend.
- List view Layout
- Grid View Layout
- View Profile Page
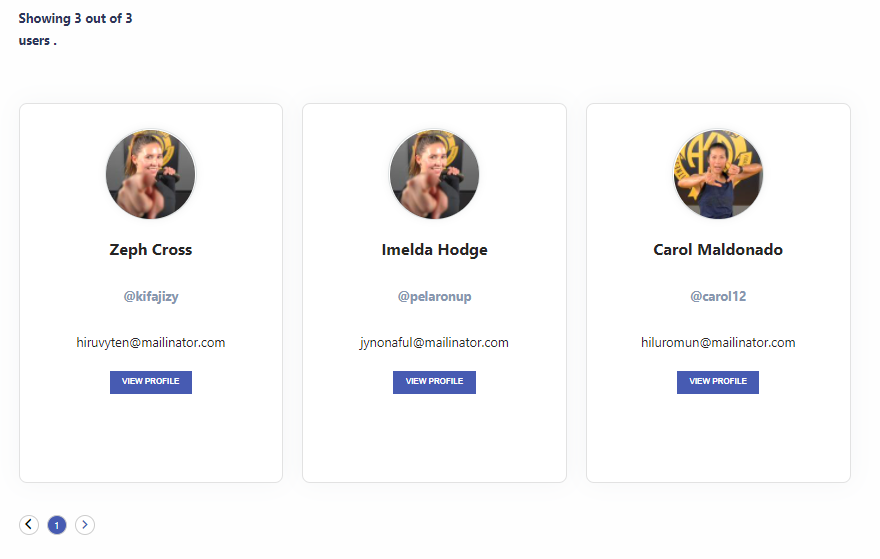
- Selected Forms Only:
- Advanced Filter


