
Long and tedious registration forms can make form fillers feel overwhelmed and uninterested. And, users feel like it’s time-consuming to fill out long forms and opt-out.
But, no worries! You can easily create multi-part user registration forms and increase user engagement.
The User Registration Multi-Part add-on allows you to break down your registration forms to multiple parts or sections effortlessly. Dividing your registration forms helps to improve the user experience drastically. And, creating one with User Registration Multi-Part Add-on is a piece of cake.
Installation #
In order to install the User Registration Multi-Part Add-on on your WordPress website, you will be required to follow these steps:
- First, you need to purchase the User Registration pro plugin.
- After the purchase is verified, the zip containing the addon required will be made available on your WPEverest account.
- Then, you can download the User Registration Multi-Part Add-on straight from your WPEverest account page
- Finally, go ahead and install the User Registration Multi-Part Add-on using your WordPress admin dashboard. You can do this by visiting Plugins → Add new → Upload Plugin and uploading your download zip files. Next, activate the installed User Registration plugin and Multi-Part add-on. And, you’re good to go!
Setup and Configuration #
First of all, you need to set up the User Registration Multi-Part add-on. For this, go to User Registration->Add New and, click on the Form Settings tab in the form builder.
Here, you can see the Multi-Part Forms option. Now, you need to check the Enable Multi-Part option there.
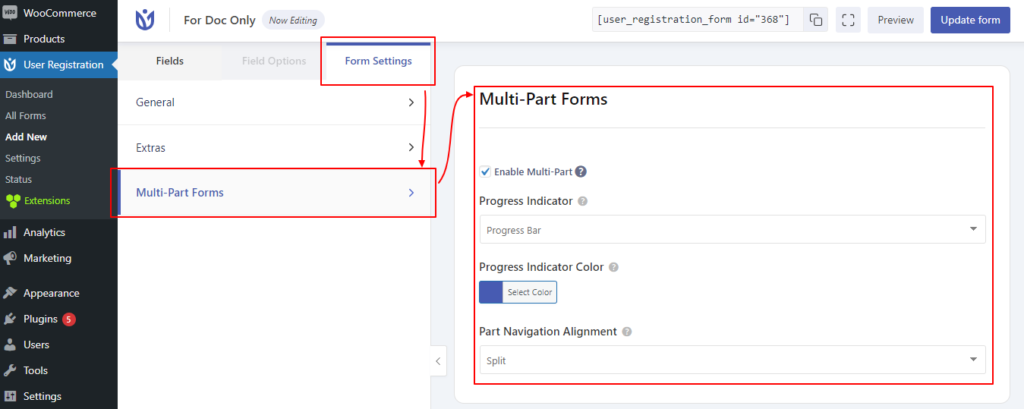
Then, you have the following settings for Multi-Part Add-on:
Enable Multi-Part Form: Check to enable multi-part on your form.
Progress Indicator: Select the type Progress Indicator which is displayed at the top of the form. There are three types: Progress Bar, Circle Bar, and Arrow Steps.
Progress Indicator Color: Select the primary color for the Part Indicator theme.
Part Navigation Alignment: Select the alignment for the Next/Previous part navigation buttons. You have four options here: Left, Right, Center, and Split.
Creating Multi-Part Forms #
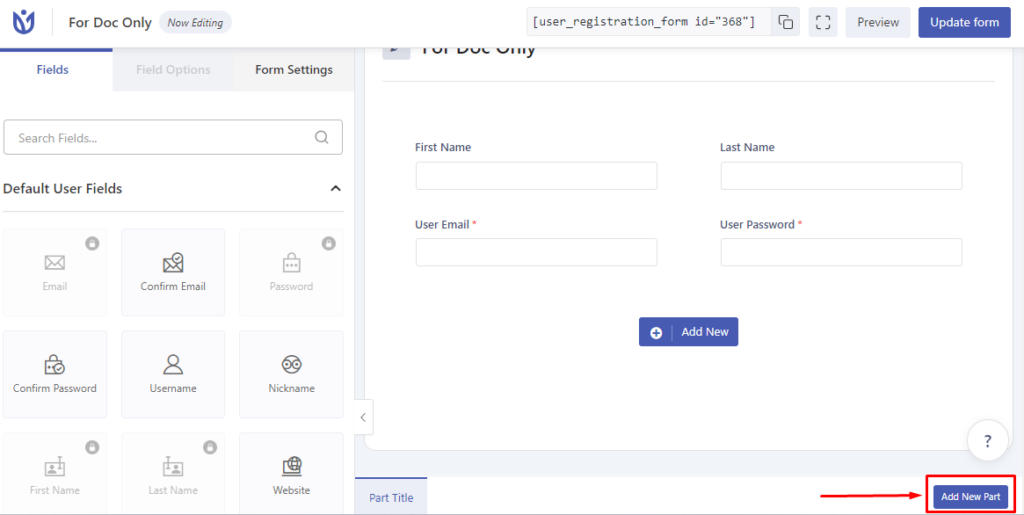
After you’re done with the settings, you can start creating User Registration Multi-Part forms. So, go to the form builder and you can see the Multi-Part feature is enabled.
On the bottom of the form builder, there is the Add New Part button. Click on it to add as many parts to your registration form you require.
Then, on the Page Options for each part, there are three settings for the Part Title, Next and Previous buttons. Also, you can click on the Delete Part button to remove any form part you don’t require.
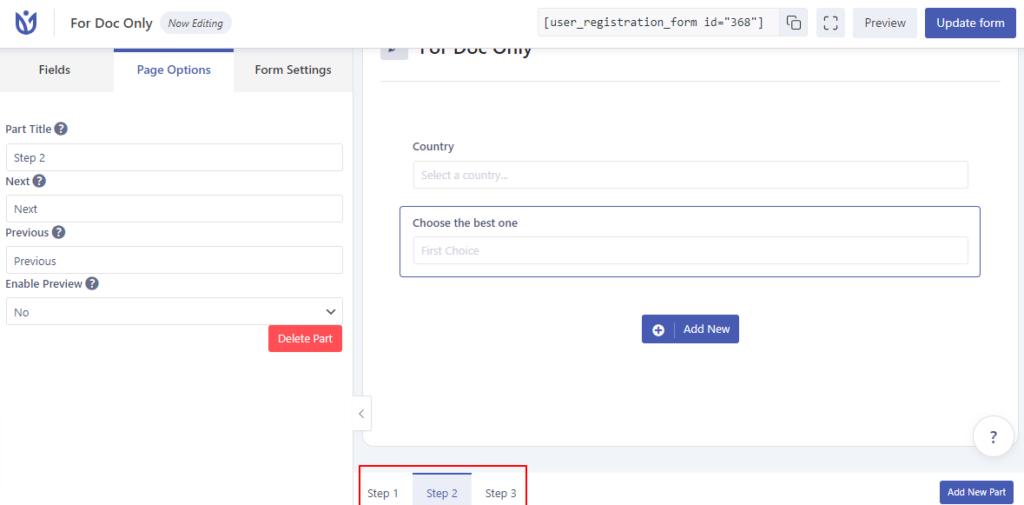
As you go on creating your multi-part form, you can even drag and drop the form parts to manage the order as you like.
Note: You can also drag and drop form fields between the available parts of the form.
After you finish creating your User Registration Multi-Part Form, don’t forget to click on Create Form.
How your Multi-Part will look on the Frontend? #
To add the User Registration Multi-Part form to any WordPress post and pages, you can take the help of our docs for displaying registration forms.
Your Multi-Part Form will look something like this:
Enable preview #
When filling the form with multiple parts, it might be confusing to remember the details that you have entered in the previous parts. Therefore, there is a feature to enable the preview of the previous part in the User Registration-Multipart add-on. This feature is available for all the parts except the first one since it doesn’t have any previous parts to it.
To enable this option, select the part where you would like to show the preview(except the first part). On the left-hand side, you will find the ‘Page Options‘. Here, scroll down to find the ‘Enable Preview’ option. Select ‘Yes’.
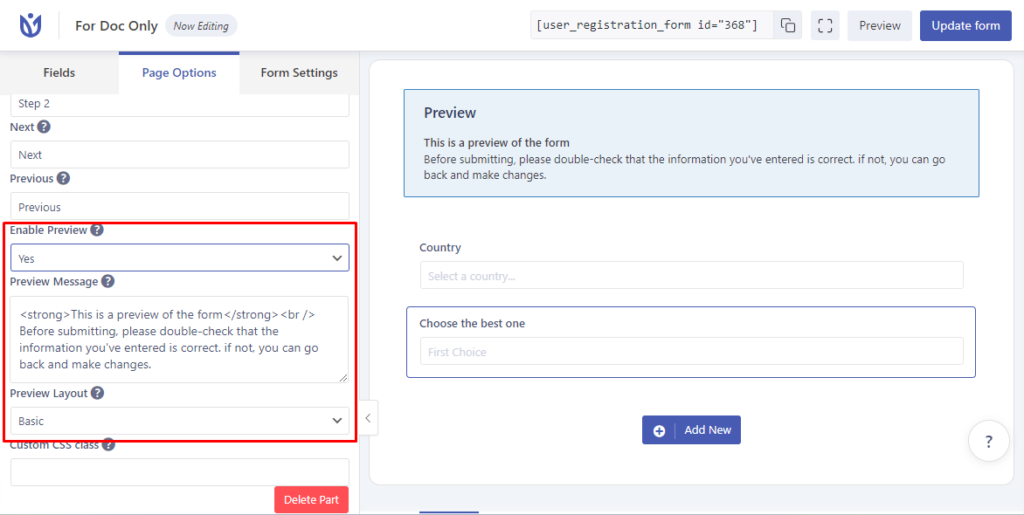
Available options:
Preview Message: You can write a custom HTML message on this option that will be displayed on the part where you have enabled the preview.

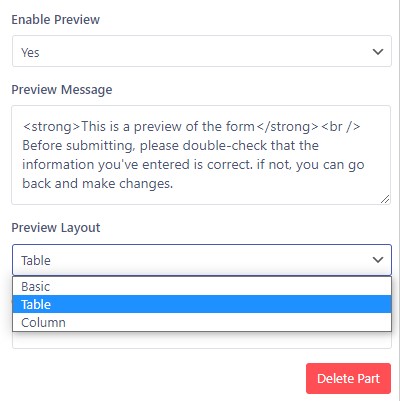
Once you have set the preview message, you can now choose one of the three layouts available.
Result:
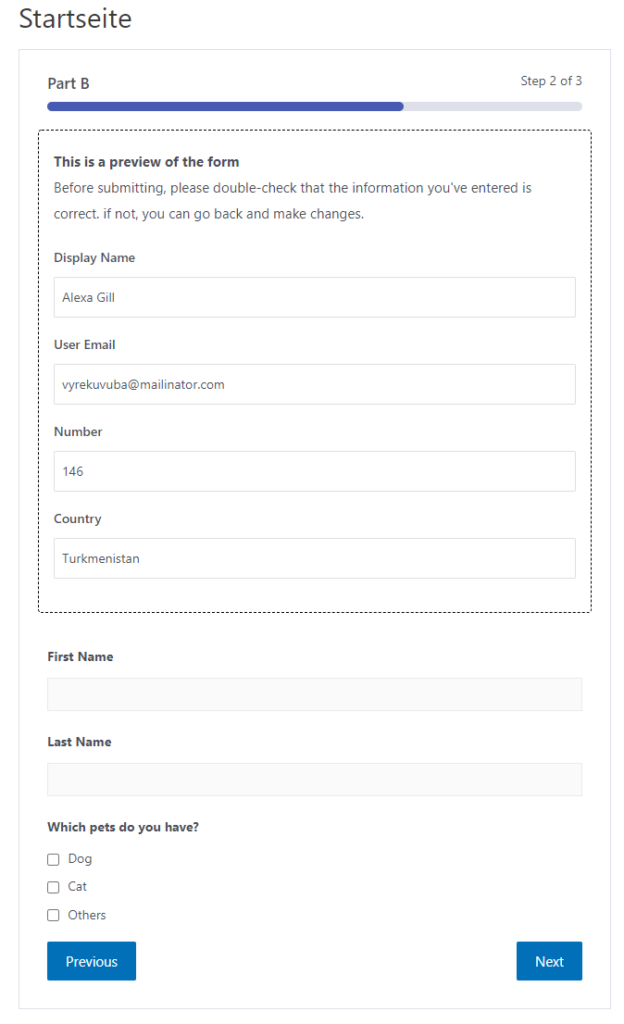
The three layouts that are available are:
Basic Layout #
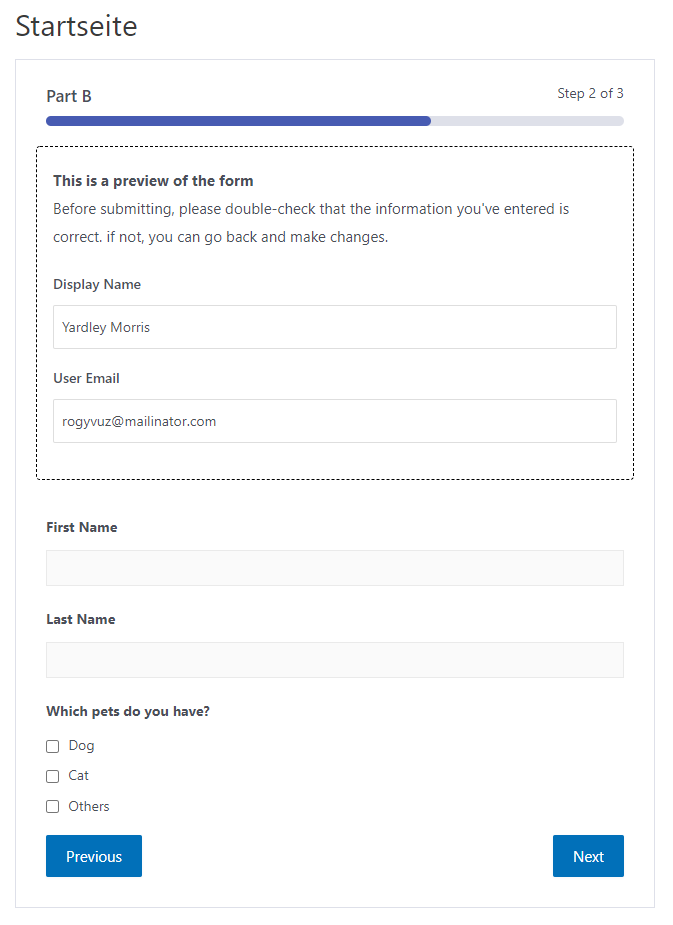
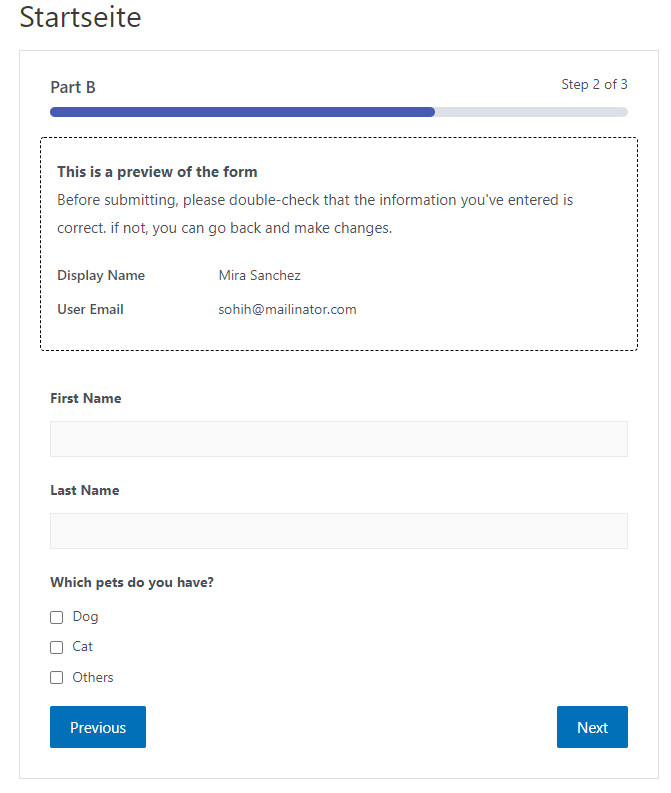
Table Layout #
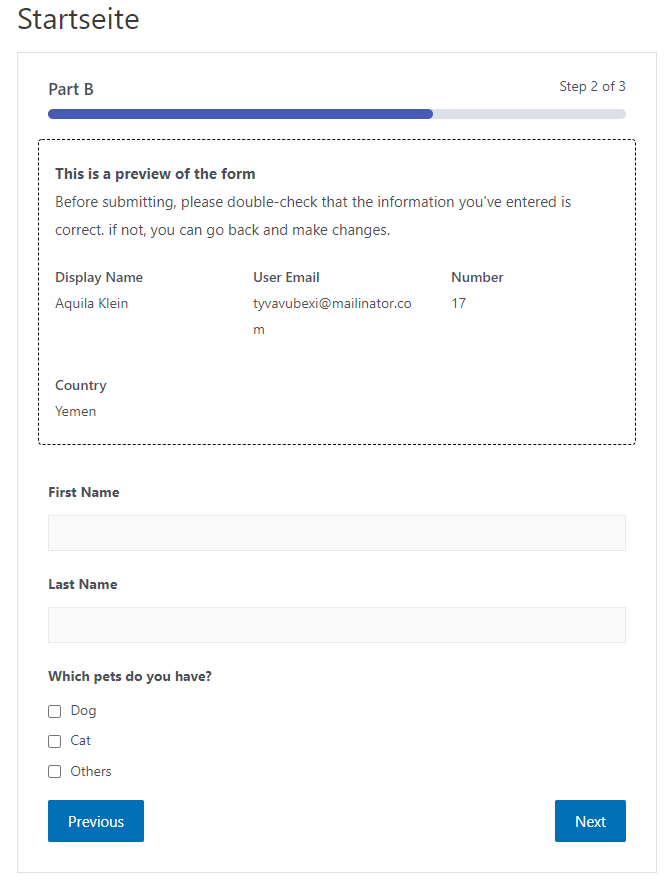
Column Layout #
Note: If you haven't enabled the preview in any of the middle parts and enabled it on the last part, the preview on the last part will show all the data of the previous parts.


